Line25 is reader supported. At no cost to you a commission from sponsors may be earned when a purchase is made via links on the site. Learn more
Photoshop is a very powerful tool if you know all its features and understand how to effectively use them. However, that’s not realistic at the start for newcomers to Adobe Photoshop. This blog post is a tutorial on 12 quick Adobe Photoshop tips and tricks for beginners that will open up the new digital designing world and help create stunning artwork. For the sake of ease, many experienced designers remain content learning only the basics of Photoshop, but here’s your chance to get ahead of the pack.
The world of Photoshop is very vast, and no honest designer would ever claim to have explored all of it. Instead, designers tend to focus on tools that they need more often. This approach sometimes results in them missing out on various other tools and hacks. Tutorials on Photoshop, like this one, can be helpful for new web designers, graphic designers, photographers and new employees of digital marketing agencies where time is of the essence and client projects need to be completed fast.
Apart from learning about the various features of Photoshop, good designers also work on how to enhance their efficiency in every way possible. One way of improving your productivity in Photoshop is to complete your work faster. For this, you need to learn different hacks, tips, and tricks like these that can save you time, ultimately improving the end result and making clients and employers happy.
1. Master Keyboard Shortcuts
Keyboard shortcuts can help you save time on all types of software. Their purpose is to transform complicated or repetitive actions into hotkeys that you can press and accomplish tasks. Adobe Photoshop comes loaded with a lot of default keyboard shortcuts. Starting from saving the document to adding layers, modifying brushes, transforming, and exporting, you can perform almost all the actions if you know the right shortcut for it.
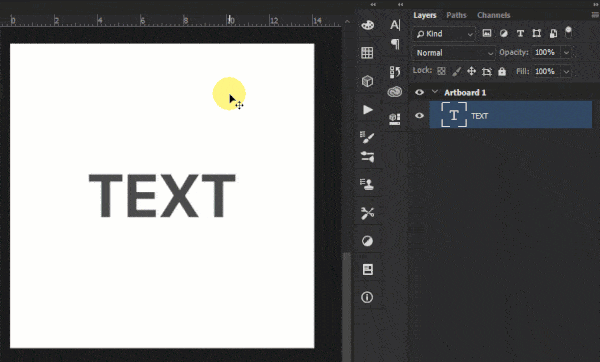
A very useful functionality that Photoshop offers is the customization of your own keyboard shortcuts. You can easily view and modify shortcuts in the ‘Keyboard Shortcuts’ dialog box. Select Edit > Keyboard Shortcuts in Photoshop to open this dialog box. Then as per need and as per your working style, you can define new shortcuts or edit the existing shortcuts. However, you will have to remember these shortcuts so as to be able to use them and save time.
2. Switching Between RGB and CMYK
RGB and CMYK are two different color schemes that designers work on. RGB is used for digital media, while CMYK is used for print media. As a designer, you will come across a lot of jobs for which you will have to work on RGB but convert them into CMYK for printing. There also may be cases where you create a design that will be used in digital and print formats. Hence you will have to create the design in both formats.

The good news is that there is a trick in Photoshop that lets you design in RGB and keep checking how it will look in CMYK. While working in Photoshop, open the color picker and hit CMD/CNTRL+SHIFT+Y. This converts the area of design that won’t print in CMYK in gray color. This will help you identify such spots and make the necessary changes to them.
3. Copy Background Layers For Editing First
This is a very primitive hack that is simple to use but can be very effective. For individuals who already use Lightroom, you probably already have some idea of how this works. If your project deals with using complex objects and then further editing and modifying them, this tip will prove useful. Whenever you open the base image in photoshop, it will open as the background layer. Normally designers will quickly start working on it. Rather, we would advise that you create a new layer for this image by duplicating the background layer.
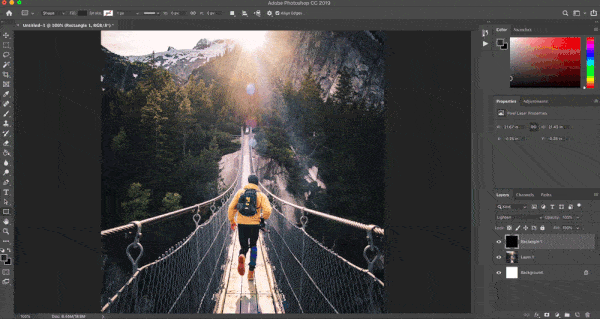
You should use these new layers to perform all sorts of edits that you wish to. This tip is more effective when you are performing destructive edits. For example, after making a lot of edits, you may often be unhappy with the outcome and want to revert back. This tip ensures that you have your background image intact, which you can use and start editing again.
4. The Fade Tool is Very Powerful
The foundation of designing in Photoshop is based on working in different layers. The outcome of Photoshop is a series of layers merged into one another. How these layers interact with each other is key to good design. This basic concept makes the use of the fade tool more significant. In Photoshop, the Fade Tool is used to change the transparency of the layers.
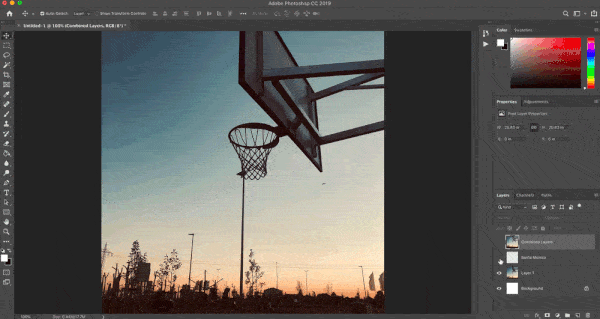
The fade effect is not just for overlaying images but can also be used for filters. For this, you should create filters in new layers. Then you can open the fade tool and adjust the impact of the effect by sliding right or left the fade tool. There are also various preset overlay effects like screen, darker color, dissolve, subtract, and more. You should use them extensively to get the desired effect quickly.
5. Adjust Photoshop Memory Usage
Each software running in your system, irrespective of the operating system, consumes a certain amount of RAM. By default, Photoshop uses around 70% of available RAM. However, professional designers are aware of the fact that they can change the memory allocation for different software. Which means you can allocate more RAM to Photoshop. This will make Photoshop execute its task faster.
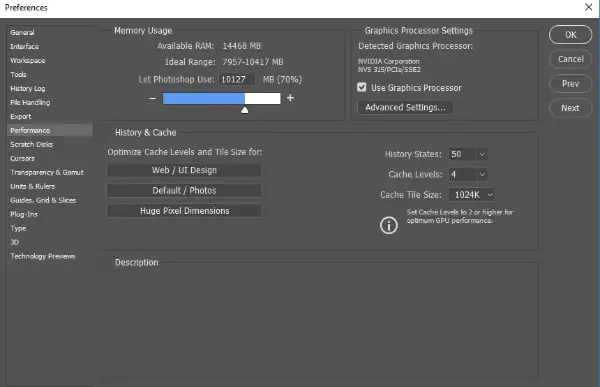
To change the RAM allocation, you need to go to the Preferences tab and find the section for Performance. Over here, you will be able to check the existing settings and alter the RAM allocation. There are other advanced tab options as well, but you should not fiddle with them unless you are sure of their outcome.
6. Makes the Most of the Curvature Pen Tool
The latest Curvature Pen Tool is a very useful tool in Photoshop. You can select this special tool from the Pen Tool in your workspace. The reason why this tool is so handy is that it lets you create different shapes without hassles. Its operation is very similar to the existing pen tool, but it makes it easy for designers to create shapes with many nodes and curves.
This tool works perfectly when you are trying to trace something. First, put the base image on a layer. Then create another layer, choose the Curvature Pen Tool, and start drawing over the image using this pen tool. You will be surprised to see how quickly and precisely you will be able to recreate the object and that in no time. Of course, the more you practice with this tool, the better you will get.
7. Adjust Recovery and Background Save Options
Do you know that Photoshop keeps saving your work at a regular interval? This feature of autosave is available in the majority of all big software. It proves to be very beneficial when the software crashes or the system shuts down unexpectedly. Then you can restore to the last autosave point and not lose your hard work. This video will explain more details, however, this autosave can have a negative impact on your working speed.
This effect is more severe when you are working on a large-size file, as whenever Photoshop will auto-save your work, it will ride over other processes. As a result, you may end up not able to work for the 4-5 seconds it takes. To avoid this, it is better to alter the frequency of auto-save or even turn it off. This is risky but will ensure faster operations of Photoshop.
8. Culling Your Images Before Editing
This tip is for designers who get to edit many photographs for their design work. Because of mobile phone cameras, digital photography has become a problem of excess. You will get a huge dump of photos from your client, and they will ask you to use the best of them. If you are editing a photoshoot project, there will be a lot of photos with varied poses and settings. We can’t emphasize more how important culling your images will be on your overall productivity.
You should never ever start editing the photos without culling them. Create a separate folder and select the best of the photos from the entire dump you have got. Be very selective about the photos and choose only those that serve the creative brief. Only then start editing the photos. This way, you will not end up editing all the pics, most of which may never be used.
9. Master Perspective Warp
The perspective feature in Photoshop is highly underused but has a lot of potentials to give your design a 3D effect. You can even proportion your image using this tool. To use the master perspective warp, you need to Edit -> Perspective Warp. You will notice that your cursor will look different. Now you need to click on the image that you want to fix. Based on the image, an entire grid will appear.
Now comes the tricky part. You will have to pin a certain part of the image and then work on the other part to change its perspective. This may need a bit of trial and error in the start to get used to the effect. But once you master it, you will be able to do wonders to your design using the master perspective warp.
10. Use Smart Objects for Instant Color Modification
All designers would be aware of the power of smart objects. This is why we have not included that as a time-saving tip. But what we are showing here is how to use smart objects to make color adjustments to your image in no time. Of course, while working on any design, you will have to work within a certain color palette. Sometimes, this may change, and consequently, you will have to change all color effects in the image. However, there is a smarter way to achieve this.
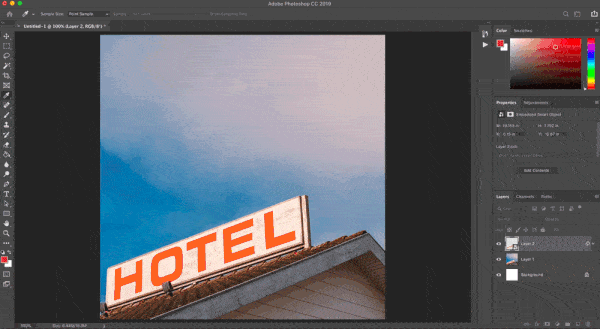
Make a rectangle shape layer of decent size, fill it with the color of your primary palette and then convert it into a smart object. Now duplicate this smart object and clip it over the design elements you need to modify color for. This way, every time you want to modify colors, all you need to do is change the color palette in the main smart object, and that will be repeated for all objects.
11. Do Not Forget to Create Actions
Like keyboard shortcuts, using Photoshop Actions is a time-tested technique for saving time and increasing productivity. However, it is still surprising to see that many professional designers do not use the brilliant feature of Photoshop. Actions are a series of steps that you perform once and record. Then you can save it and deploy it whenever needed. No matter how many steps, you will be able to execute them on a single click with precision.
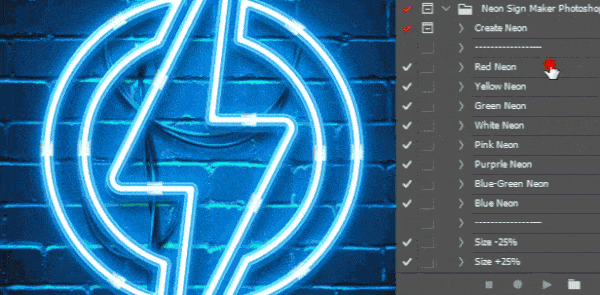
Actions become very useful when editing images in batches. For example, you may want to apply the same color settings to the images or add a specific watermark; then, Actions will help you execute them. All you need to do is go to the Actions tab, record the action you want to perform and then save it. The good part is that you also get to edit or add steps to be excluded in actions. This literally allows you to make the computer work for you.
12. Create a Workspace That Suits You
Every professional designer would have created his own workspace. This will be based on the tools they use the most and other working preferences. Your workspace is your window to Photoshop, and if you have the right tools in front of you, then you can quickly select them and use them for your design. Photoshop, by default, offers six different workspaces. This is based on the majority of the requirement for different types of work.
Photoshop also gives you the power to create a workspace tailor-made to your need. For example, if your work consists of editing photos, retouching, and adding text, you can select the tools you will use for these tasks in your workspace. Photoshop offers hundreds of tools, but you need to know which one to use as a designer. A well-organized workspace will go a long way in making your work faster and smoother.
Conclusion:
Our goal with these 12 Photoshop tips and tricks is to help beginners focus on the exciting parts of being a creative, which is using your imagination and creativity, instead of fretting over the technical stuff. It can be overwhelming and getting caught up in Photoshop trends can be a distraction too. These simple tasks can help your workflow move along more efficiently and encourage a more inspirational mindset for artists and designers. Because making your Photoshop technical work move along faster, means you’ll be able to free up some time and mental capacity to focus more on the fun part of your work. We realize that some of these tips are basic and simple, while others can be a little advanced. But get started today, because the more you practice them, the better you will get at using them.