Line25 is reader supported. At no cost to you a commission from sponsors may be earned when a purchase is made via links on the site. Learn more
Sketching has been both a hobby and a profession for different people. You could sketch for relaxation; on the other hand, you could be an artist for your living. The art of sketching is using different physical tools to create artwork on a tangible paper or any other surface. While artists are respected, and it still stands as a substantial career option, the potential for this art form has evolved into a new direction that traditional artists could benefit from. In today’s time, we have graphic design as an integral part of many social media and online campaigns. Graphic design is also used for making posters and artwork. Digital vector art is given the same recognition as a hand-drawn illustration, so knowing how to use tools such as Illustrator’s pen tool to create vector art from your existing sketches is extremely important.
Why choose Digital Vector Art?
The reason many artists today are turning towards digital vector art is its potential to reach out to a broader audience. Digital vector arts are also, to an extent, immune to any unpredictable damages to the art. Yes, the files could be corrupted; however, you could always take a backup. Since digital vector art has better access to the internet, it is easier to share your art worldwide with ease. This enables different artists to collaborate with others, as well as get much higher exposure for their artwork compared to traditional sketches.
The certain advantages a digital vector art has that since it’s vector art, you could easily resize the image as they’re easily scalable without compromising on quality. This gives the artist flexibility for using their art for various purposes.
Turning sketches to vector art allow artists to explore and reach out to a new marketplace for their skill. Any artist can take advantage of vector hand. For instance, a calligraphy lettering artist could use their artwork for different products. These products can be personalized items, clothes, gift items and much more. One more important aspect is that you don’t need to sell your original artwork when you’re dealing with vector art, you need to sell copies of it.
Now that we have a clear understanding regarding the potential of vector art, let’s understand how to use Illustrator’s pen tool, for converting a sketch into a vector art:
1. Get the sketch ready:
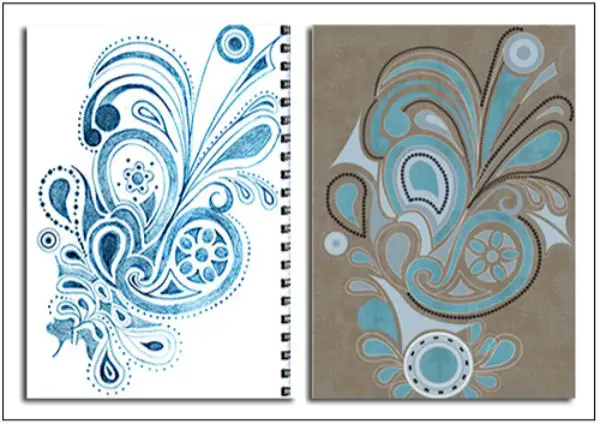
To start off, you need to sketch the drawing on a piece of paper, by traditional means of paper and pencil. A sketch to be converted to vector art requires slightly more patience and detailed drawing than a regular sketch.
Firstly, if you’re using colors, ensure that each color you chose is a strong one. Otherwise, it wouldn’t get picked up on by the printer. A good way around this is to use a thicker marker and leaves a more noticeable impact. Secondly, ensure that the outlines are strong and easy to distinguish. You need more than a rough sketch to use Illustrator to its full potential truly.
2. Clean and scan the sketch:
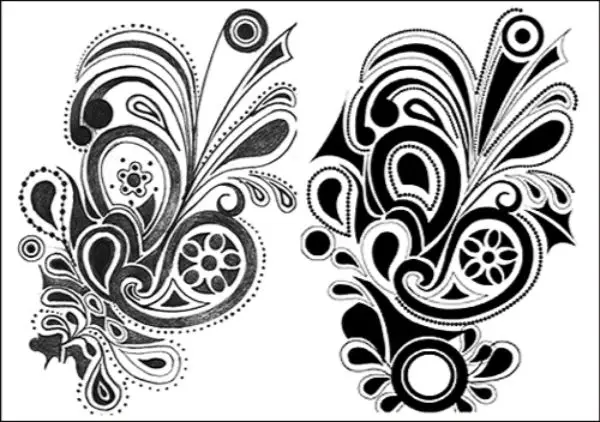
Scan the sketch once it’s ready, and import it to Adobe Photoshop to get started. Photoshop is an excellent software for cleaning up the sketch and getting it ready for illustrator. Once you have the sketch in photoshop, change it to Grayscale by going to Image-Mode-Grayscale. To start with, use control+L to adjust the brightness and contrast levels. You can further improve the sharpness of the same by using Curves by pressing control+m.
Now to clean the image, make use of the Eraser tool pressing the keyboard shortcut E. Start with cleaning the white spaces as efficiently as possible. After this start painting the black regions and at this point, you can redesign or alter any shapes if you want to.
Make sure you use the Eraser Tool for separating the different parts of the sketch that are together. It is important to isolate each part of the sketch that you want to treated separately in Illustrator. An alternative to achieve this is selecting the small objects and using the Magic Wand tool for adding a few pixel white strokes between these elements.
This helps Illustrator understand these aren’t large groups of the sketch that are connected with anchor points.
It is a crucial first step first to clean the image on Photoshop before you can trace it on Illustrator using the pen tool. Once you’re done cleaning up the image on Photoshop save the file in .PSD format.
3. Tracing using the Pen Tool on Illustrator:
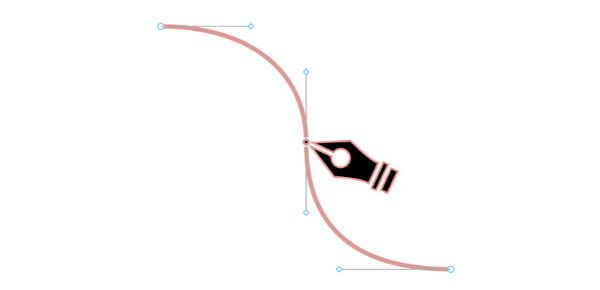
Open a document on Illustrator. Now place your .PSD file that you cleaned up in the previous step here. Now select the image and click on the small prompt on the right to Live Trace button. Access the Tracing presets from here and then scroll through the Tracing Options available in the Tracing Presets.
Tracing Options has an enormous selection of presets that you can choose from; however, try using custom tracing to get the perfect trace for your sketch. Certain features help with the process such as Check Preview. Check Preview allows you to see the effects taking place real-time as you change the settings. After you’re done press ignore white, this allows you to work more accurately, as this removes the white background.
Next, set the mode to Black and White, and the raster selected to No Image. The Vector should be set to Tracing Results, and Fills should be checked.
4. Understanding the relevant settings:
Illustrator allows you to check your edits live. This allows you to play with the different tools and settings a little to get better accustomed to their effects. Adjustments on the left resemble how Photoshop works. It conditions the Raster image before it is traced. Whereas, trace Settings on the right, is more accurate to Illustrator. It takes the conditioned and rasterized image and converts it to paths. There are a few relevant settings you should have a better knowledge about:
1. Threshold:
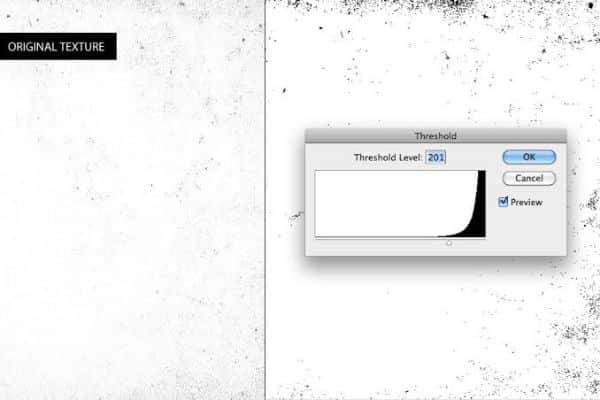
Threshold helps determine and understand which pixels are black and which are white. Setting a threshold value helps to treat any pixel that is lighter than the set value as white and any that is darker is turned to black automatically. Hence depending on your sketch, if you have darker regions, you would want to set a higher threshold and vice versa.
2. Blur:
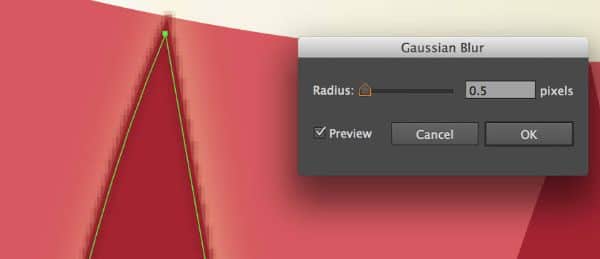
Blur settings blur out the set image before we start tracing it. It is useful for smoothening out any jagged edges.
3. Resample:
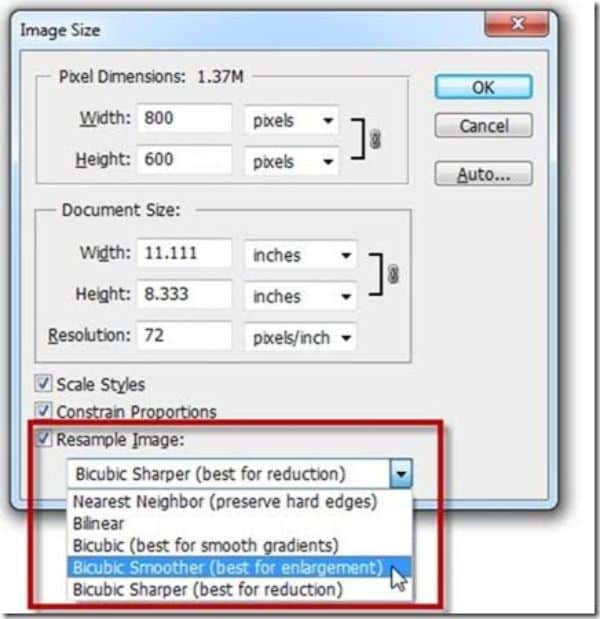
General perception would lead to many people believing that a high-resolution file translates to more natural tracing on Illustrator. However, it doesn’t always necessarily translate to a better image. Many times a high-res file can add unnecessary and complex details which could make the tracing much harder. Hence depending on the intrinsic details of the sketch you’re using, you might want to downsize to a lower quality if your sketch requires it.
4. Minimum Area:
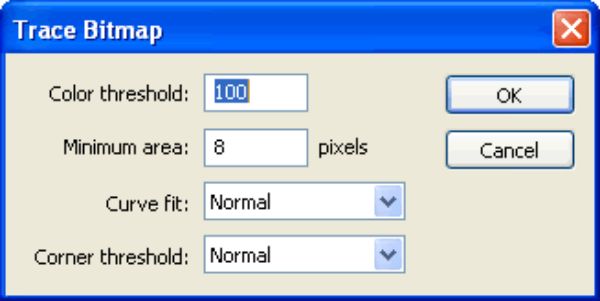
It is a handy feature that defines the least area that would be traced. It helps get rid of some dirty areas you don’t want to include in your final vector art. The unit of setting this is pixels, so anything smaller than a pixel won’t be detected or traced.
5. Path Fitting:
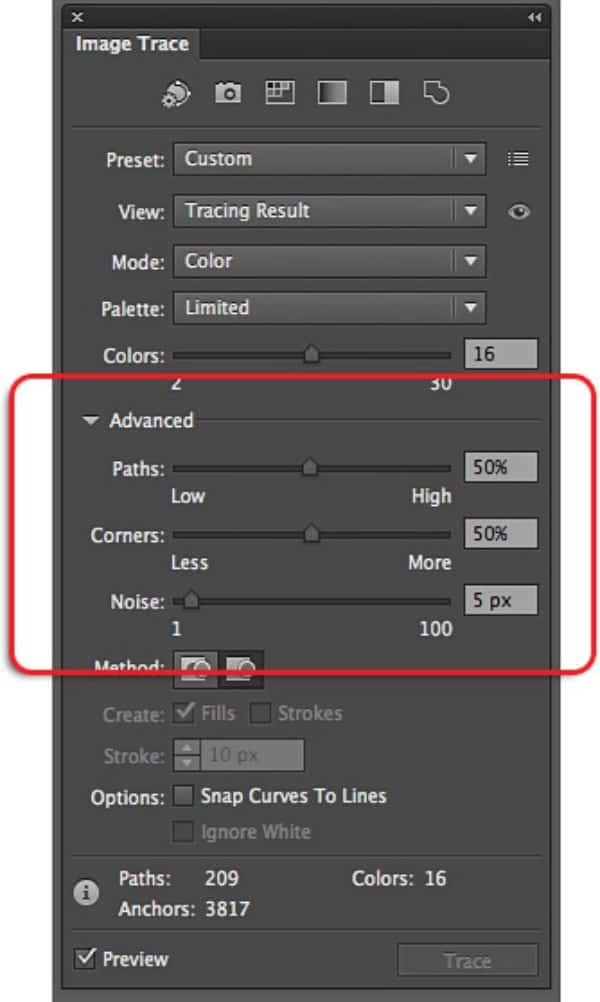
As the name suggests, this setting helps you modify the rigidness or flexibility of how tightly the image would be traced. Setting it extremely low, which translate to extremely tight might give a jagged effect. Generally, the higher the value set for this, the smoother the effect gets. However, it takes a toll on the details so you’d want to find the right balance between the two.
6. Corner Angle:
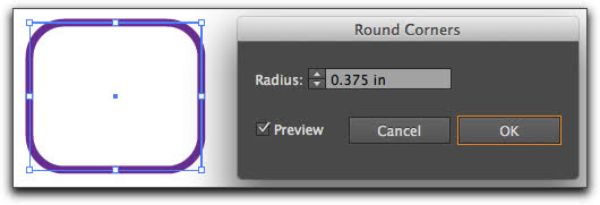
This is useful to define the corner angles of your vector art. You can set how sharp the corner angles should be. Lower values lead to sharper angles and vice versa.
Once you have adjusted all these settings, save it as a Preset. Saving as preset helps save time and improve accuracy if you need to make any other changes before you trace again. Once you save the file, start tracing by pressing Trace. Now press the Object button, next select Live Trace and press Expand.
Next, you want to ungroup the objects. Make sure you repeat the process as many times as you’d like to ensure each object or element is ungrouped. For ungrouping make a selection and press shift+control+G.
5. Reverting to the Original Image:
You can edit your image in Photoshop anytime you feel necessary by clicking a button. You need to keep pressing the undo command till you return to the raster image. This is why saving as a preset is essential, so you don’t lose all effort every time you need to edit on Photoshop.
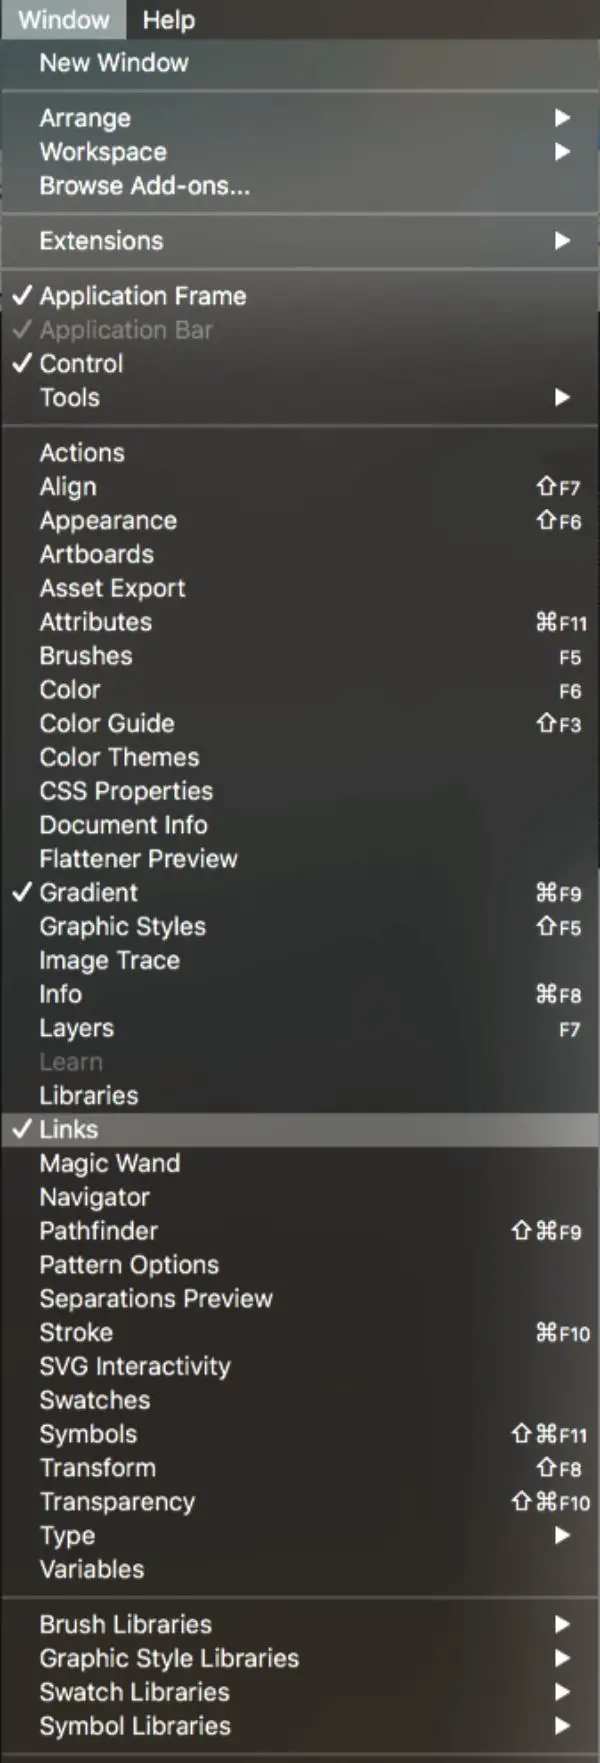
Browse to the Links panel by going to Windows and pressing Links. There is a pencil icon on the lower right corner. You can now easily edit the image in Photoshop. Close the window after editing. Click on save the changes in Illustrator.
6. Make use of Knife Tool:
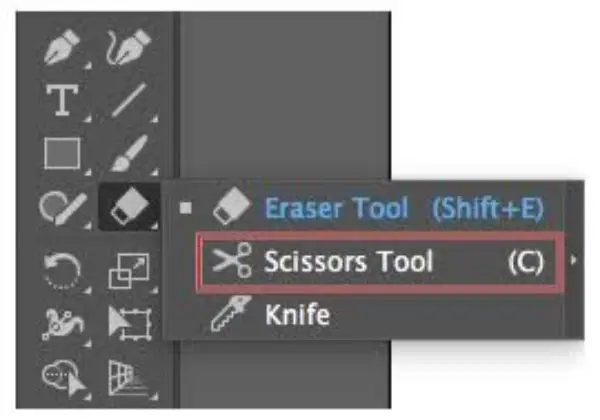
Another approach can be to use the Knife Tool and cut apart the grouped anchor points. For better precision, use the View Outline option by pressing control+y. Also to make straight selections with knife tool, press down the alt button. You can zoom in by pressing control and scrolling. There is also a delete anchor point tool that lets you delete multiple anchor points.
7. Removing anchor points from Live Trace:
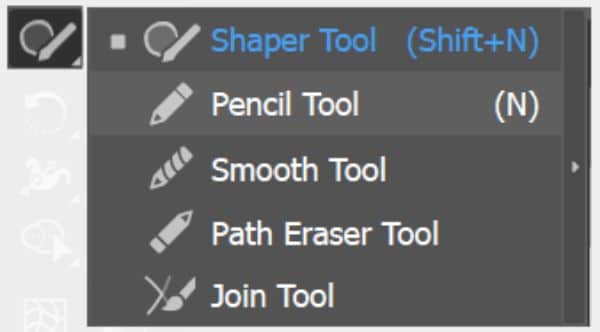
When you use Live Trace for tracing your sketch, you can notice it creates some unnecessary anchor points in many places. You can get rid of some of these by using the Smooth Tool. You can also drag and click the anchor points to reduce them and to smooth the curves.
8. Final Touch-Ups:

It is possible that even after all these efforts; there might be some shapes that wouldn’t have adequately traced. However, that’s not an issue as you can easily redraw them quickly. You should lock the original raster image to 20 per cent opacity, as background.
9. Using extensions for enhancing vector art:
1. Live Paint:
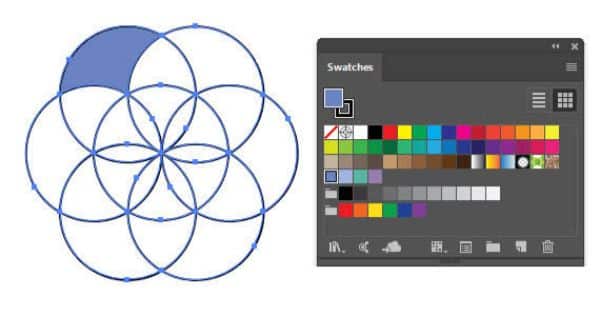
Live Paint is a vast feature that could have a tutorial of its own. To give you a gist of it, Live Paint can quickly fill shapes without altering the vector groupings. The way it works is, you need to select your artwork and browse the Object menu. From there select Live Paint Make and then Live Paint Bucket. Now you can fill the cells with whichever color you prefer.
2. Recolor Artwork:
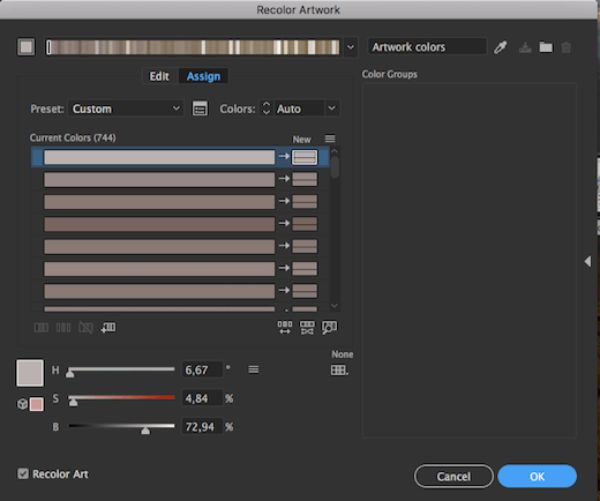
Recolor Artwork provides users with many color combinations. It matches and mixes the existing colors, creating complementary color variants that the user can view and use instantly. Open the palette by selecting your artwork and clicking the colorful circle button on the top menu. Another approach can be going to Edit-Edit colors- Recolor Artwork.
10. Export the file in right format:
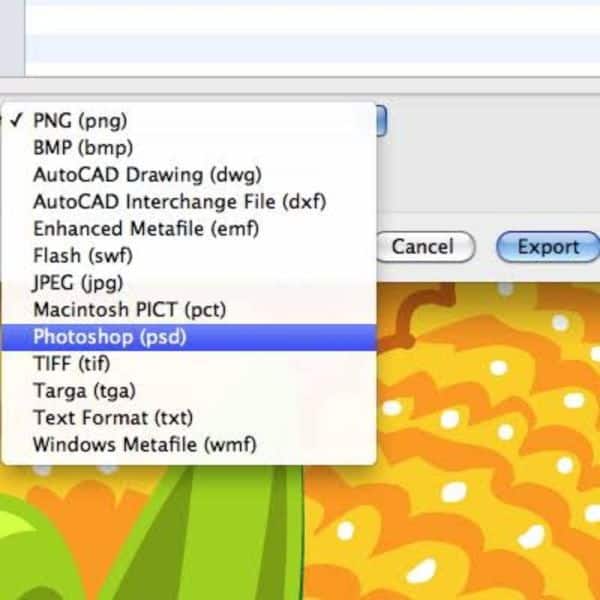
Generally, Adobe Illustrator saves the file in AI format. This is an excellent format for saving a master copy of your digital vector art. However, you need to understand all different formats available and which you should use for what purpose. The formats available are SVG, JPEG, PDF and PNG. Also, you could save the file as a.PSD file for editing your work further in Photoshop. Hence understand the relevance of each format and carefully use them for matching the purpose of your content.
This was our tutorial on how to turn your sketch into vector art using Illustrator. You could practice and learn how to convert your sketches to vector art, even if you’re a professional or just for a hobby. Keep practising and refining the skills, and explore the possibilities of vector art.