Line25 is reader supported. At no cost to you a commission from sponsors may be earned when a purchase is made via links on the site. Learn more
Grunge is a texture effect that gives any design a rustic and realistic look. It has dirty backgrounds, rough edges, hand-drawn doodles, fonts with distress and many such elements that would not adhere to the conventional good web design definition. In addition, there are no rules when it comes to how you organize your Grunge as it can be as bizarre as you’d like. Generally, when people think about Grunge Design, they imagine the design to be dark, loud and gritty, however many designers use the principles of grunge design in more subtle ways. This design has several variations that one can explore to give their website or design an edge over the others.
With Grunge effect, there are certain guidelines that you need to keep in mind; otherwise, you might get carried away. For any design practice, a designer needs to understand the right time and the right place to use it. It should be adding value to the content and complimenting the context of the message you want to deliver to your audience.
Grunge design works for many purposes like blogs, clothing stores, music pages or any such website or business that want to reflect urban scene, the essence of streets, and many more such elements. However, there are chances of misjudging the timing and place to use this effect at safe places like this too. To truly use Grunge effect and benefit out of it, you need to understand why Grunge effect is usually used, and what purpose it solves.
Grunge is Subjective:
Now with Grunge effect, you don’t necessarily get to play it safe. It is a bold move and a standout design practice that grasps your audience’s attention for sure. However, if they like it or immediately dislike, it is a very subjective matter. There generally is no in-between. Hence, if you’re willing to take the risk of incorporating this design in your website, or your graphics make sure you have a basic idea about how your target audience might react to it.
However, if you’re sure of your brand’s identity and the relevance of Grunge effect to complement it best, it is an acceptable design practice you should learn about. For the same reason, we would be discussing how to get your Grunge effect right in Photoshop with this step by step tutorial.
1. Create a Fresh Image:
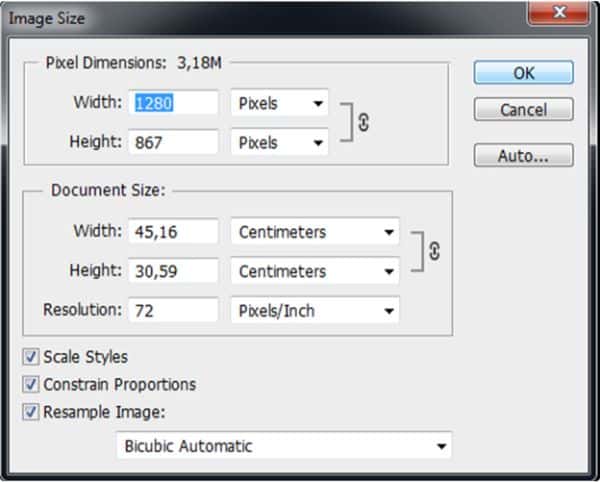
Open a New File and set the image size to 1280 by 867 pixels. Change the background colour to black. Now open the image you want to use as the foundation of your design. For opening the image, select all by pressing ctrl+A, copy using ctrl+c and finally pasting it to the fresh blank document by pressing ctrl+v. Then move it in the position of your choice or even scale it, by pressing ctrl+T to activate the Transformation Tool.
2. Add all the textures and blend the masks:
Different textures give a different effect on the base image. In addition, they create a great sense of contrast moreover makes the design feel more close to life. You can either create your textures or choose from the wide variety of textures available on the net. For managing the textures, use a few limited tools for ease and efficiency. The significant tools we would manipulate would be simple shapes, layer masks, and blending modes.
Use 3D Textures:
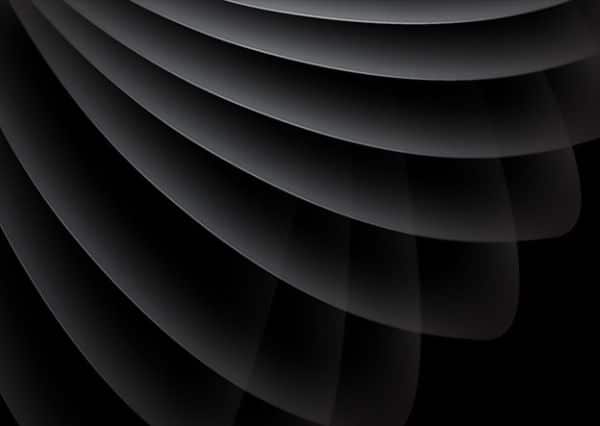
When we talk about using textures to give the base image life, 3D textures do the trick. It gives any design a distinctive look and creates a notion of depth. Again you can create your 3D texture using Illustrator or download any of the available ones from the net.
Start by putting the 3D Texture image in its separate Layer and put it above the base photo layer. Open the blending tool and set the blending mode from the drop-down menu, named Screen. Set the opacity to 67%. Now use the rectangle tool to produce a shape that covers the image. Now choose a colour, for the rectangle. In our case, we used #000834 colour fill. After this choose the blending mode as Overlay and turn the opacity to 100%. Now repeat the previously used texture and put it over the shape. Keep blending mode as Normal and set the opacity to 29%.
Make use of Metal Textures:
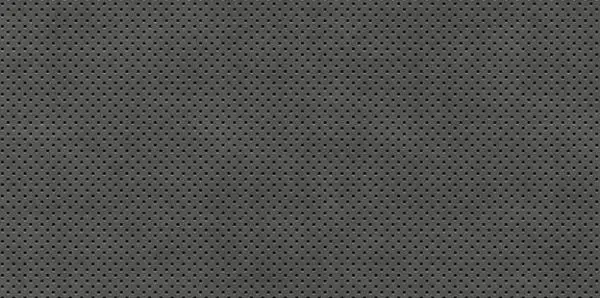
Metal finish has a sense of rigidness and strength in them. By using such texture, it would add to the aesthetics and roughness that are often the characteristics of any Grunge Design.
After you download a metal texture image from the net, open this texture and copy & paste only selected fragments of it in the design. Now use Overlay blend mode and keep the opacity low at 25%. Always keep experimenting with the positioning of texture positioning, moreover in lighter areas.
Add a layer of Grunge Texture:
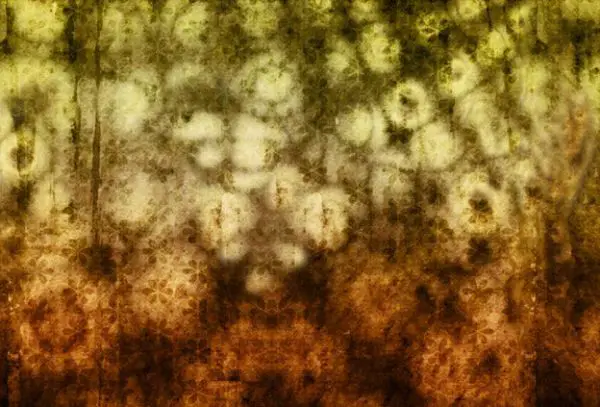
Up until this point, we were prepping up our base image with some additional layers to prepare it for the Grunge effect. Now with a strong base, we would incorporate an actual grunge texture to our base image. Download a grunge effect image from the net and open it as a separate layer.
Firstly cut down the image into different sections and create separate layers for each of them. Secondly, produce fragments with the help of the Marque Tool to drag and highlight an area. Press cntrl+x to cut the area selected, then paste it over the design using cntrl+v. Now for each of these cutout layers, set the blending mode to Overlay and the opacity to 41%. Now we would add masks for each Layer. There are two approaches for this, go to Layer. Browse the option that reads Layer Mask. Click on Reveal All or click on the Layer Mask that is a rectangular icon.
Next, pick the brush tool using keyboard shortcut B and start painting on each of these masks for getting a naturally irregular result. Keep your colour palette set on black & white. Switch to black for erasing something and white when you want to draw it again.
3. Add some text:
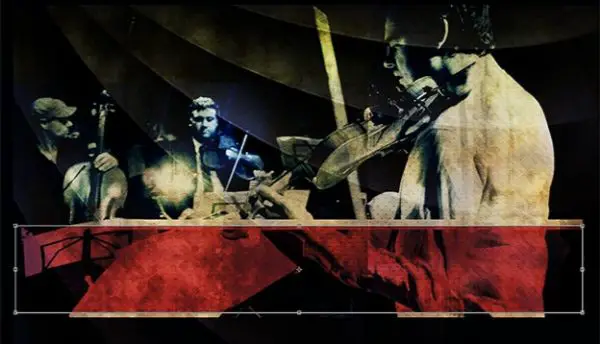
After you’re done adding all textures, and blending them, you should now focus on structure as well as preparing areas where we could put text. Make a bar that is horizontal using the Rectangular Shape Tool using keyboard short cut U. Put it over the photo layer and adjust the shape in a way that it fades in nicely to the image. For this, you’d use normal blending mode and set the opacity to 100%.
Now, you should draw another shape over the 3d texture layer you created earlier. For the best result, we change the blending mode to Multiply and set the opacity at 100%. Although this step might not be compulsory, it surely would add depth and aesthetic value to your design. The step is of adding a shadow drop effect. For this right-click on the Layer, choose the blending options, and select Drop Shadow. Depending on your design, tweak the distance accordingly. For us, it’s going to be 10px and the spread should be set to 0% and the size to be set at 0 px.
4. Create Textures with Brushes:
Even with a design practice that is known for its inconsistency and raw aesthetics, a certain amount of consistency makes much difference. Generally, if you’re creating the entire poster with Grunge effect, you’d want to incorporate the same grunge effect in your icons as well.
We would be creating our texture using the texture brushes readily available for your use in Photoshop. Start with producing a fresh document. Resize the document 150 by 150 pixels. Firstly, start by painting some strokes using one of the brushes with texture and secondly, duplicate it by clicking on the Filter icon, going to Other and then finally Offset. Once you click Offset set the horizontal to 50 pixels, and the vertical to 50 pixels as well.
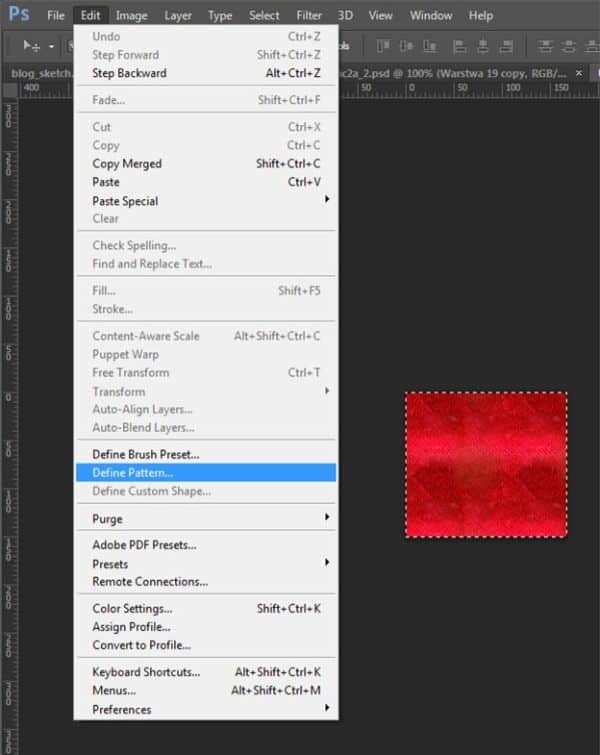
Try fixing up the unfinished edges. Use the Rubber Stamp tool or Spot Healing Brush tool. You should be able to fix any edges using both these tools. Once it’s all tidied up and done, select all by pressing cntrl+A and go to Edit and then Define Pattern. Name the Pattern, and you can now use the Pattern from the pattern panel whenever you want.
5. Add Grunge to Social Icons:
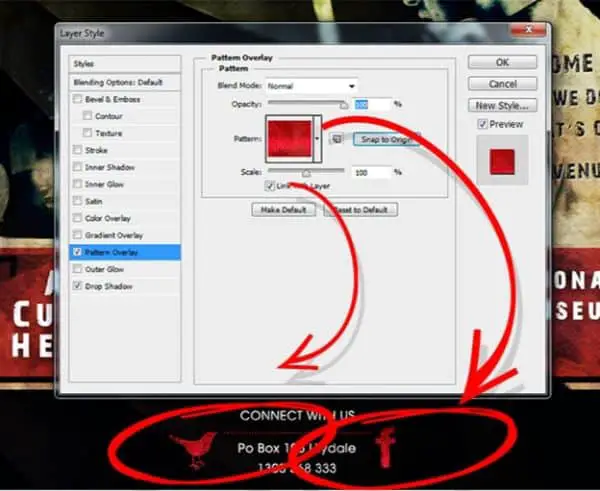
Now that we have the Pattern created and saved for later use, download the social media icons or logos, from the net. Import them to the Photoshop file, go to set my shape and click on apply my Pattern. For this right-click the Layer, browse to the blending options and select Pattern Overlay. For each Layer set the opacity at 100% and keep the blending mode normal. Now you can see that your icons have the same grunge effect you have for your entire design.
6. Make use of Typography:
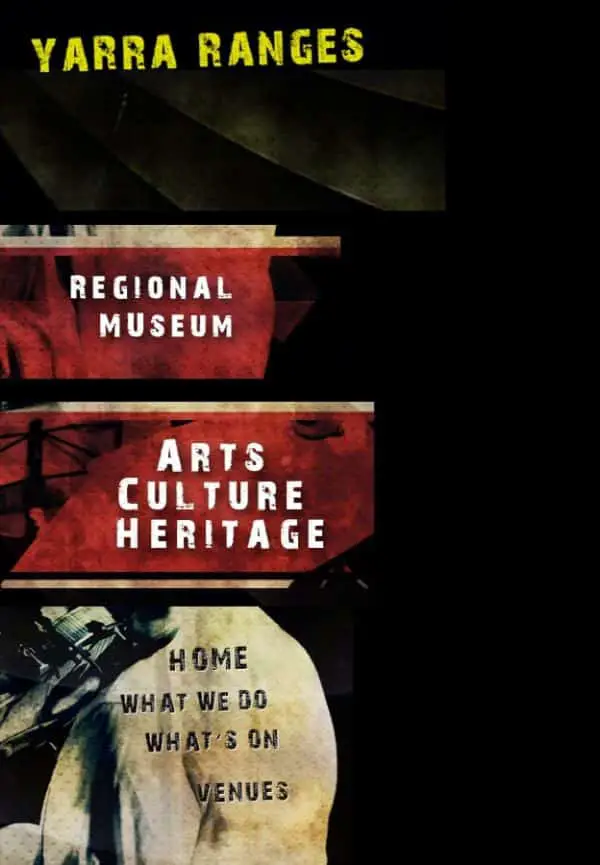
By now, you have an excellent grunge effect design. However, you can take it a notch further and make it even better by sticking to your basic typography design essentials. Since we are looking at a grunge effect, it is ideal for adding text in the form of title or menus using grunge fonts.
Firstly, you could use the pre-loaded fonts you get with Photoshop. Secondly, you can also search the net for grunge fonts that might add a sense of uniqueness to your design. Apart from the font style, the other aspect to keep in mind is the colour of the text you’re putting on your design. Since we have been using metallic and dull-coloured backgrounds, using a bright and intense colour would help the text stand out concerning the background as it would create high contrast.
Applications:
Many industries have accepted and made use of grunge effect for promoting or enhancing their products or services, let’s discuss a few of them below:
1. Movie Posters:
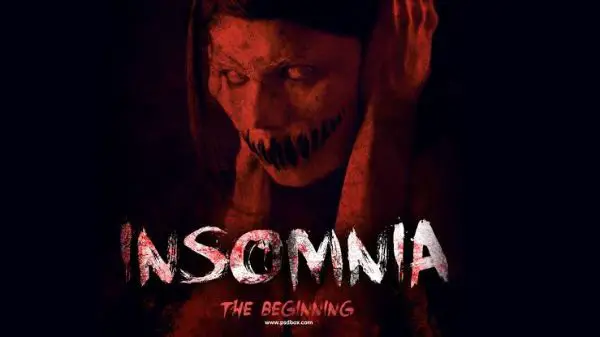
Grunge effect has a rough and raw look, as a result, it often is considered to be a design practice that reflects distress or a sense of darkness. This makes it the perfect effect to make use of, for movie posters of movies that fall in the Horror Genre. This is greatly done in the poster shown in the image above.
2. Music:

Grunge, as a concept, has had its origin from music. Falling under the rock music genre, it consequently became a subculture that emerged during the mid-1980s. It revolutionized the underground music scene near Seattle. The artwork above belongs to a band named Pearl Jam. It was used for their album named Ten. You can see how they’ve used the grunge texture in the background with much noise.
3. Websites:
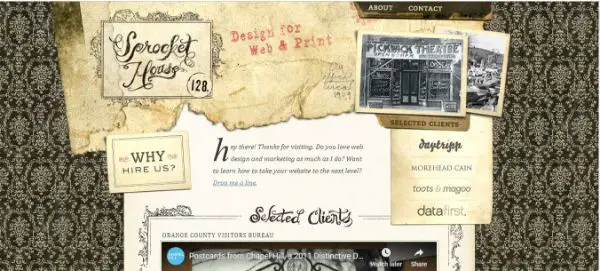
Many websites have started using Grunge effect in their website design practices these days. The image you see above is of sprockthehouse.com, which is a website that is catered to web designing services. The owner of the site has kept a grunge effect layout for their site. This makes it feel more robust and antique and gives it an edge over other websites in the market. This is a smart way of translating that the owner is capable of making your website stand out from your competition.
This tutorial is suitable for anyone new into using Photoshop as well as people who are comfortable with the software but need a certain reference point for help now and then. Grunge effect generally breaks and stands out from the general notion of good design. However, it has still managed to maintain its fair share of popularity as it represents a particular mood or culture. It can be used as a standalone design method or could be added to other design patterns as well.
There is no correct or incorrect manner of creating a grunge effect, and that’s the advantage that it offers. Once you’re clear about the fundamentals and have practiced the above-mentioned steps for a decent amount of times, open a new project on Photoshop and try new ways of getting the grunge look you want with constant trial and error.