Line25 is reader supported. At no cost to you a commission from sponsors may be earned when a purchase is made via links on the site. Learn more
If you ever wanted to draw an illustration but had no idea how to begin, this tutorial is for you. In this tutorial, you’ll learn how to set up Adobe Illustrator document and produce high-quality illustrations. This is fairly easy to follow for a beginner.
Pay close attention to everything as every bit of this tutorial is crucial for producing great illustrations. Everything you’re about to learn in this tutorial is done on Windows, In Adobe Illustrator CC version 2017. If you have another version of Adobe Illustrator or you’re on a different machine, your workspace might be somewhat different.
Step 1 – Sketching
Now, this is a tricky part for some. Many of us aren’t that good at sketching but it’s doable if you put in some work and practice. Get a paper and pencil and let all your creativity out. You can start with your sketch but if want to learn the digital part of the illustration right now, you can use this sketch instead.
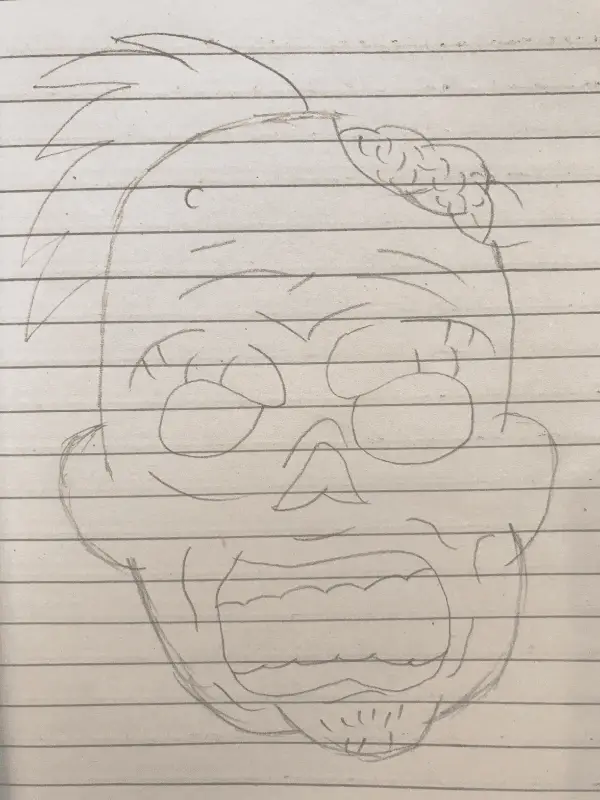
Download the sketch above and save it on your computer. We’ll use this image in the next step.
Step 2 – Setting up Adobe Illustrator workspace
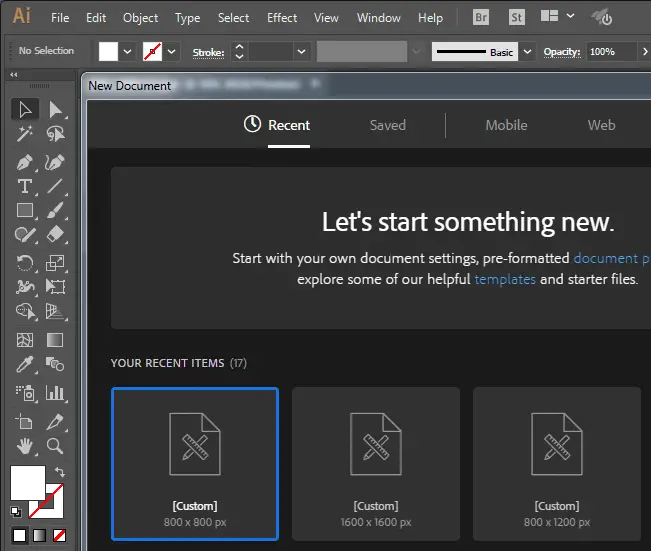
For this step, you need to run Adobe Illustrator. On the top left corner, click ‘File’ and select ‘New’ or just press Ctrl+N for New Illustrator document for Windows.
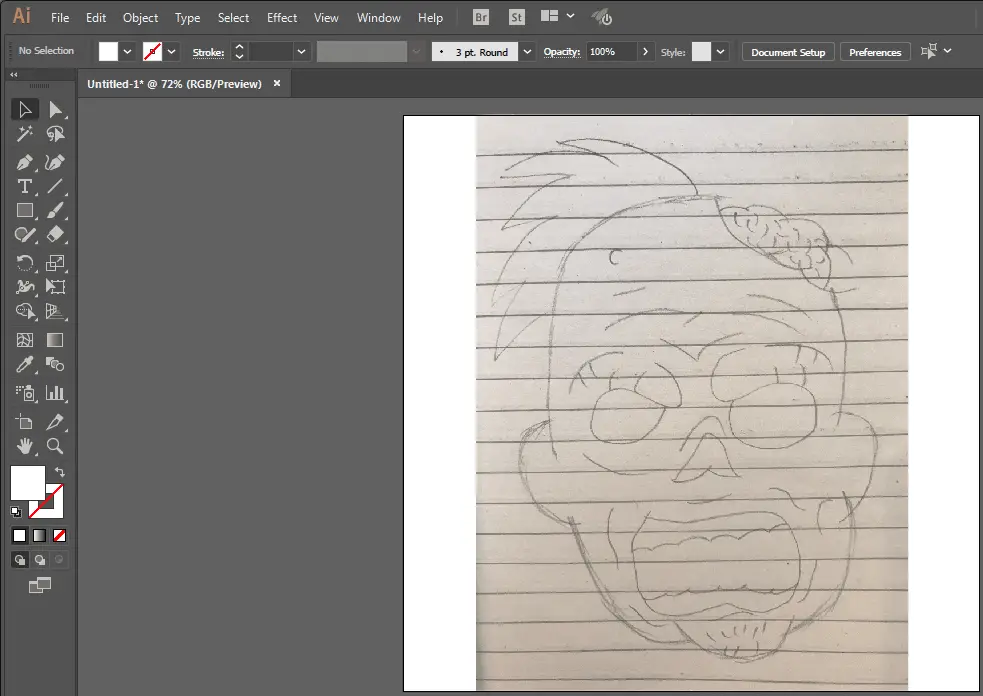
Now, import your image and place it on the illustrator document you just created. It will look like this:
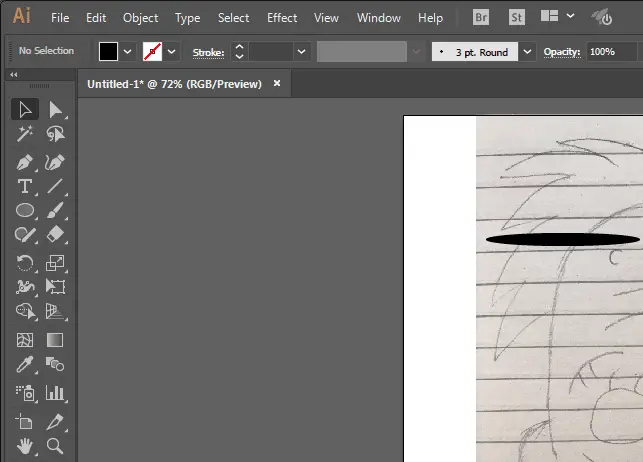
Now select the ellipse tool and create a thin shape like this:
Select this shape and drag it to the brushes panel on the right-hand side.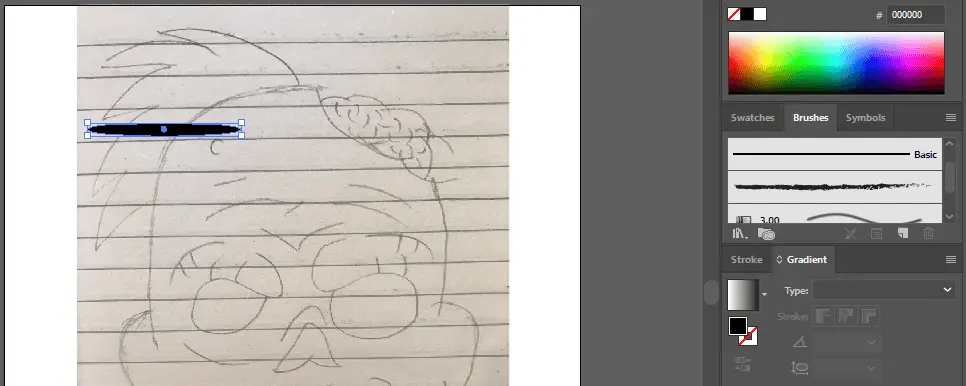
After you have dragged the shape into brushes panel, you will see something like this. Choose ‘Brush’ and hit ‘OK’.
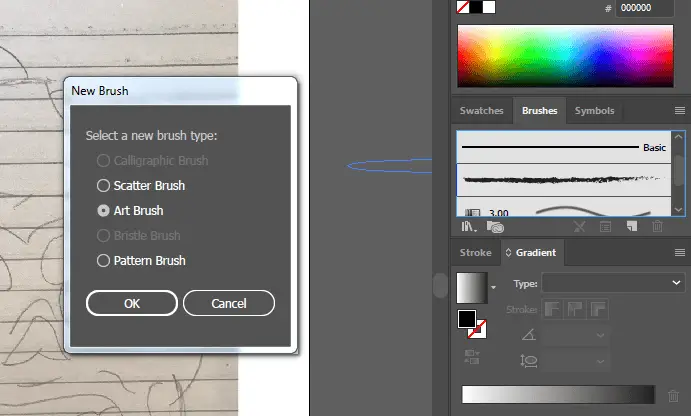
A new window with more options will pop up.
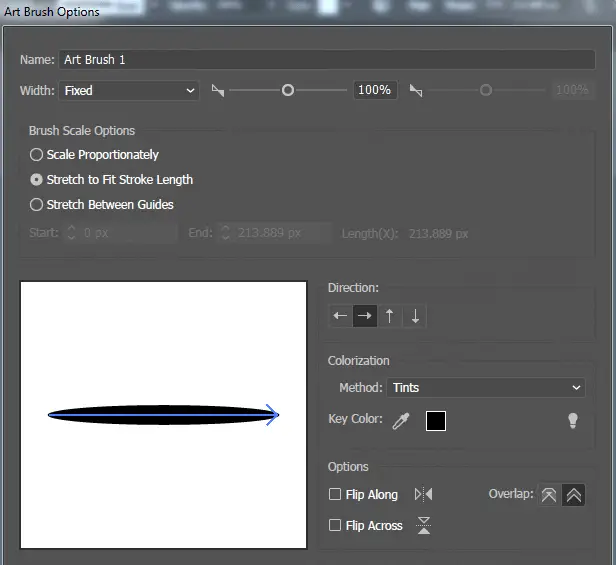
Leave everything as it is and just change the method to ‘Tints’ and hit ‘OK’.
Good job! If you have followed everything above correctly, we can now move towards the next step.
Step 3 – Drawing digital sketch
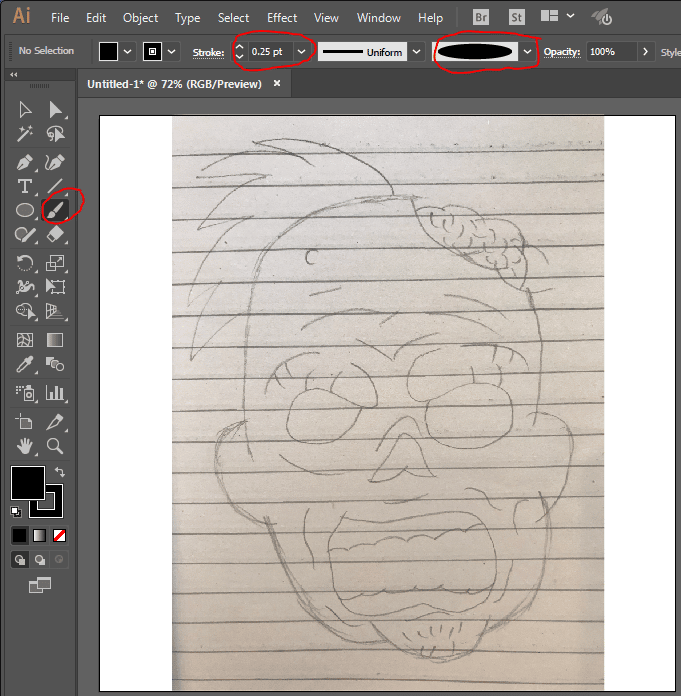
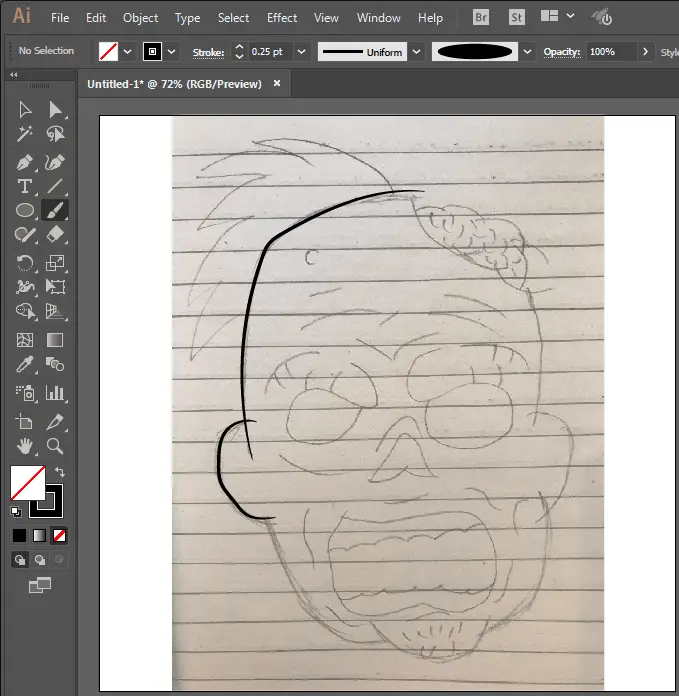
Select ‘Paintbrush Tool’ and set stroke to ‘0.25 pt’ and select the brush you have created earlier.
Great job so far. Let’s draw over our sketch now. Carefully draw over the sketch with the help of ‘Paintbrush tool’. Make sure to intersect the lines like this:
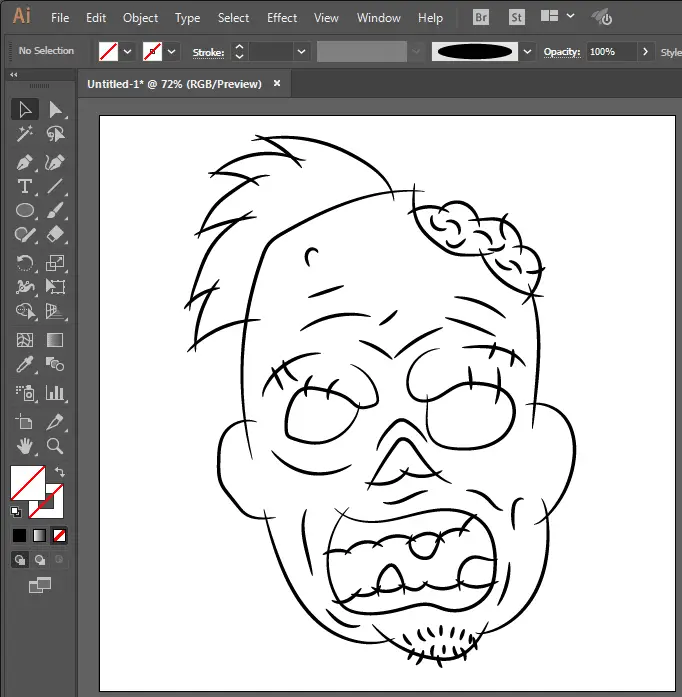
These intersecting lines will be removed later but they are absolutely necessary and crucial part of our illustration. Draw using ‘Paintbrush tool’ and complete it. It will look like this:

The base of our illustration is now complete. Moving on to the next step.
Step 4 – Finetuning the base illustration
Now you can remove the paper sketch and follow the next step.
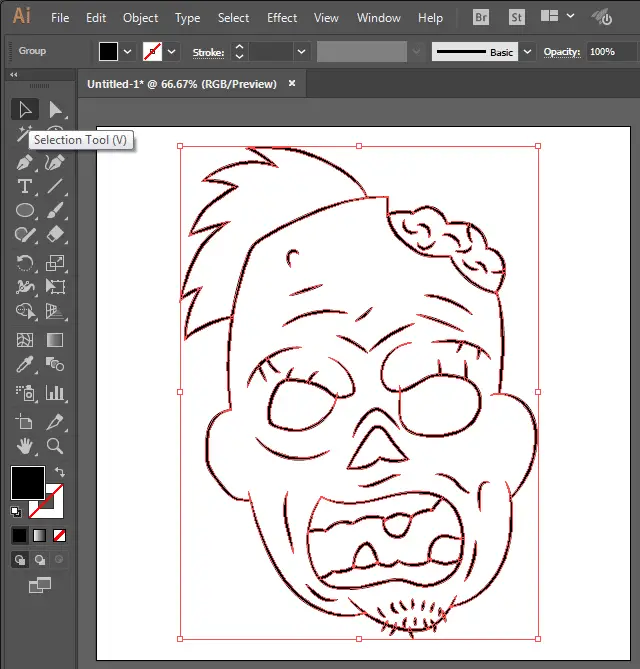
Now, we have to remove extra intersecting lines from our illustration. Select everything with ‘Selection tool ‘ on the workspace like this:
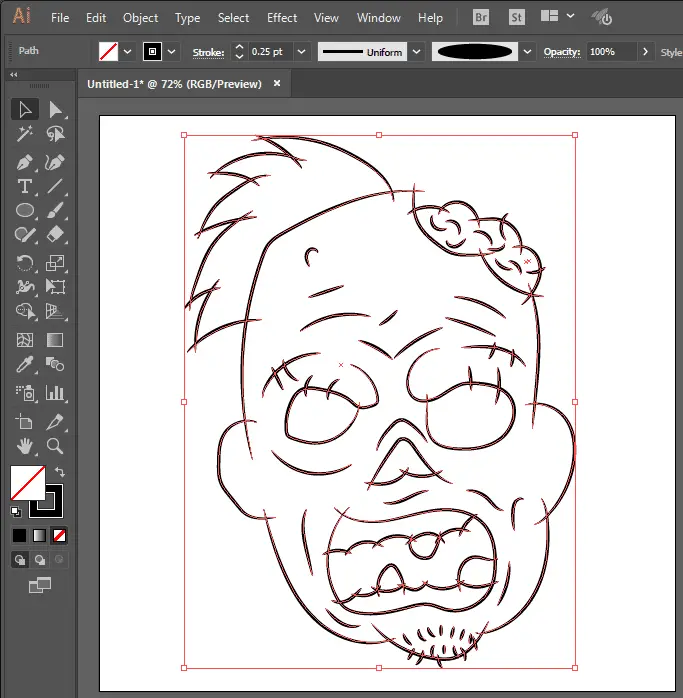
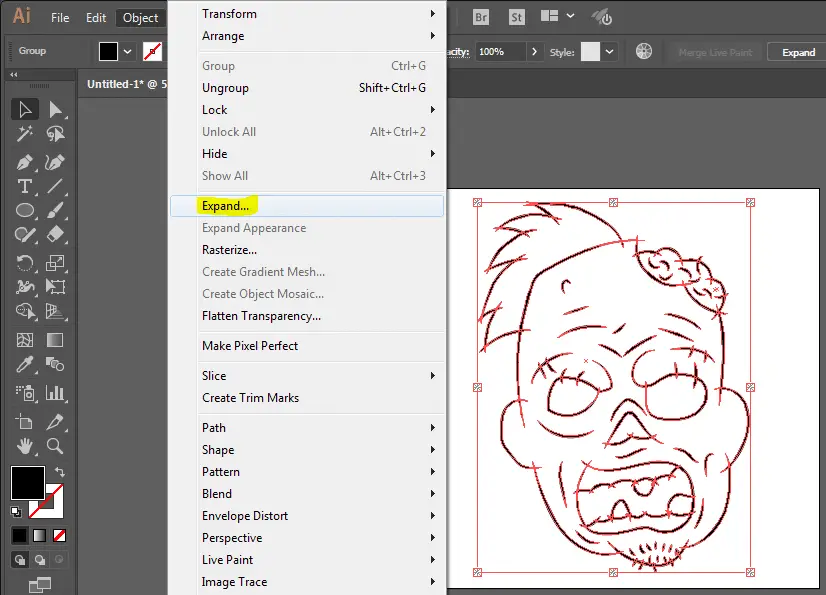
Click on ‘Object’ on top left bar in Adobe Illustrator. Select ‘Expand Appearance’.

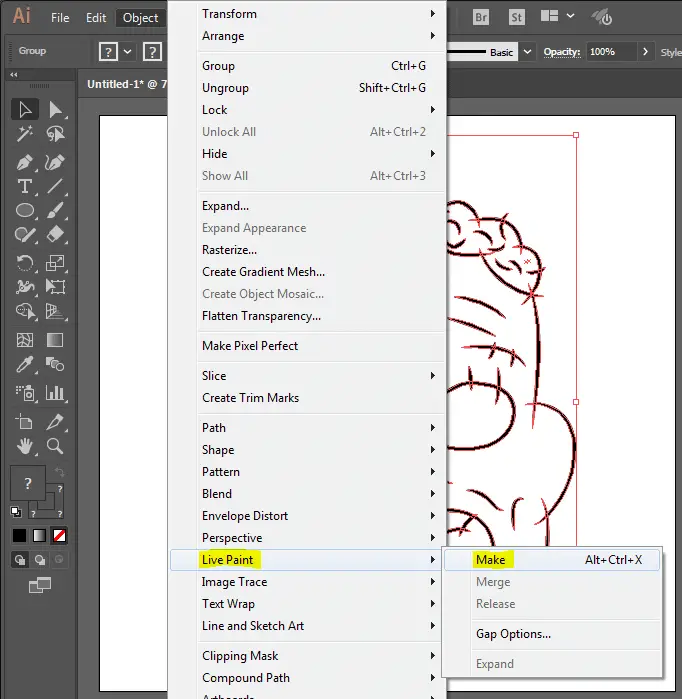
On the top left bar, again click Object menu and click ‘Live Paint’ and then click ‘Make’ like this:
Click on ‘Object’ on the top left menu and select ‘Expand’ again, like this:
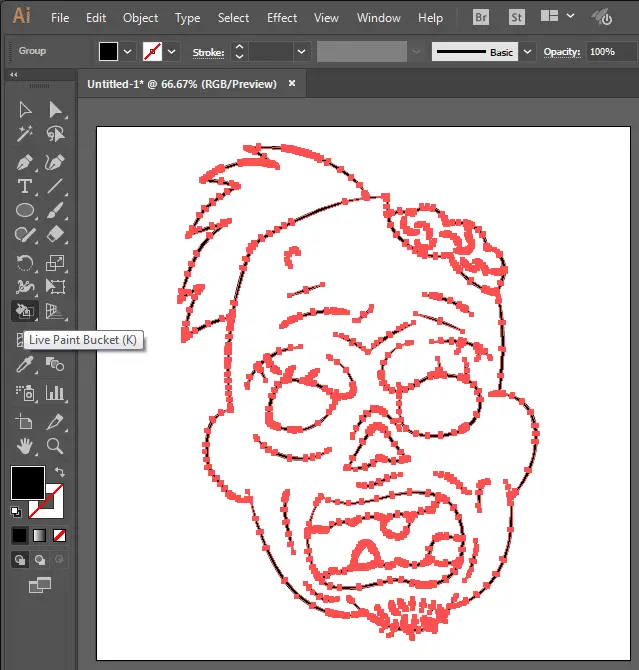
Now, click on the ‘Direct Selection Tool’. Hold Shift and select extra intersecting lines in your canvas like this:

Hit the backspace button and remove all the extra intersecting points. After removing everything, it should look like this:

Perfect. Just a few more steps and you will have a scary zombie illustration ready. Moving on to the next step.
Step 5 – Adding the magic of colors
Select everything on canvas using ‘Selection tool’.
Now, choose ‘Live Paint Bucket’ from the sidebar as shown below:
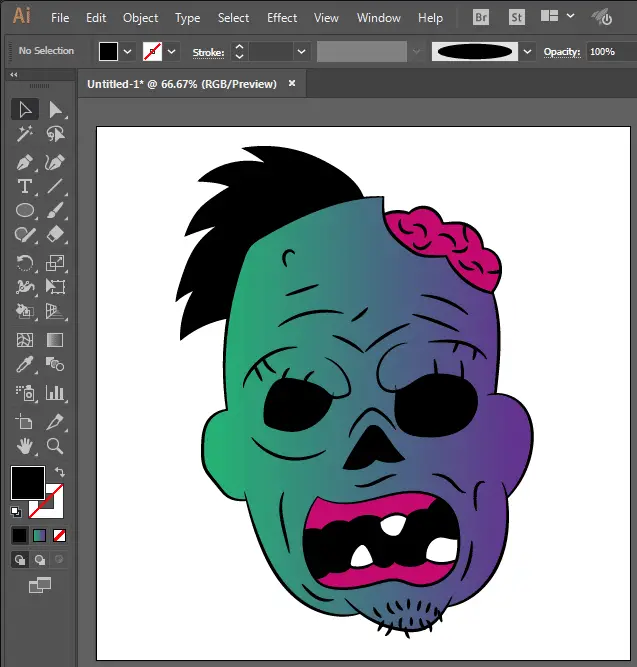
Now, open the color palette and start coloring different parts of the face with different colors. You can also add gradients to the face for better results.
Choose the live paint bucket and select a color you want to apply and click on a specific part of the face and colors will be added seamlessly. I have added multiple colors and some gradients to the face of my zombie and it looks amazing. Don’t believe me? Check for yourself.
There are endless possibilities with this technique. You can create tons of other cartoons and cute animals. Practice for a while and I am sure you’ll get amazing results with this tutorial.
Let me see what you can create by following this tutorial via comment section and I’ll definitely respond back to any queries or questions you may have. Please join the discussion below and let us know if you have any questions.
I will write on more exciting topics like this in the future so make sure to check us out again and again for more exciting updates.