Line25 is reader supported. At no cost to you a commission from sponsors may be earned when a purchase is made via links on the site. Learn more
Designers have always used various ways to get the attention of the clients/audience, and Photoshop has immensely helped in this. Typography Animation is one of the best things to view and admire. It is a skill to create typography animation. We use typography animation to give a break to the standard and dull text.
Typography animation gives variety and it’s a great way to seek attention in terms of marketing. Regular text has often been overused. Something new and better always has to take over the dull content. Typography animation is one such thing that has taken over the standard text. Typography animation always captures attention and takes us to a fantasy world like when we were a child. It is one of the best ways to put out your message in an appealing manner. Not only does the reader see it, but also it is etched in his or her mind for a more extended period of time.
To create digital art, designers tend to create various art related to typography. Usually, typography animation is a must in promoting and advertising of brands. You might have seen the advertisements where the whole text takes the screen and sweeps your attention right away. You could give various effects to the text, including 2D and 3D effects for the fonts.
When it comes to branding and advertisements, animation has always worked and proved better than videos with the models. Similarly, when it comes to typography animation, it has always worked with the audience because it tends to be on a bit lighter mode. It usually fascinates the audience and keeps them hooked to it, no matter how many times such videos come, they still look at it happily. Typography animation gives the viewers a straightforward interpretation and in a comical way. This animation in a way helps to make the audience convince particular idea or thoughts in a perceivable way.
With this, we guide you on how to create typography animation using Photoshop.
1. Select Text Style:
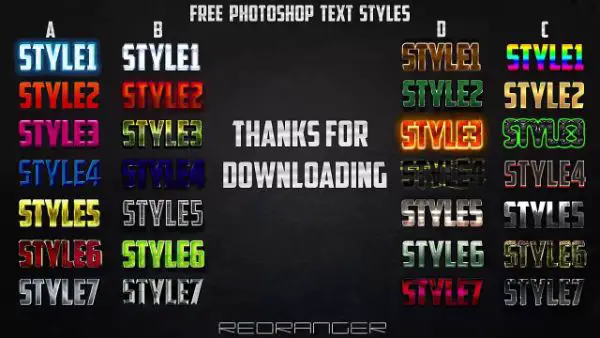
Depending on your product or client, you would have to choose your text style. What kind of text style would suit the brand needs to be known and used. Choosing the text style is the first step to get started. It is not as more comfortable as it sounds, as various anticipation takes over while selecting the text style. This text style has to go through color, style and pattern and again, this should convey the brand language.
As the whole sense of the typography, the animation is to make it look excellent and alluring to the readers. For example, if you are designing with regards to a theme, you can select Retro Typography Photoshop Text Effect. The finalized text, then you can check estimated which text needs to be animated and what kind of style or effects is needed. There are many free text styles available in Photoshop. Some of them are cartoon vector text effect, Retro PSD Text styles, 3D Comic text effect PSD, Typography PSD text effect, Glass metal text effect, Cinematic 3D effect, Fantasy free text effect, and much more. Once you select your text style, you are ready to go to the next step.
2. Give effects to text:
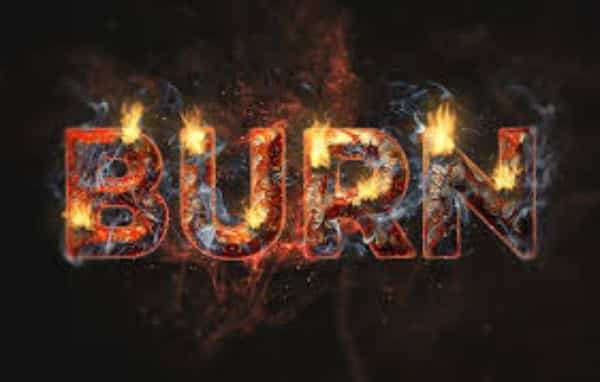
When the text style is clear, you can give effects to your text. Let your text laugh, move, shrink, fly with the animation effect. In short, let make you text human by giving them expressions using animation in Photoshop. Animate it based on the need of your content or emotion that needs to be presenting to the audience.
Giving effects to text helps to convey the emotion right through text. Let the background, color, pattern and design align with your text effects. The underlying intention behind these typography animations is that every element in the design should sync with each other to give a perfect look.
3. Give dimension:
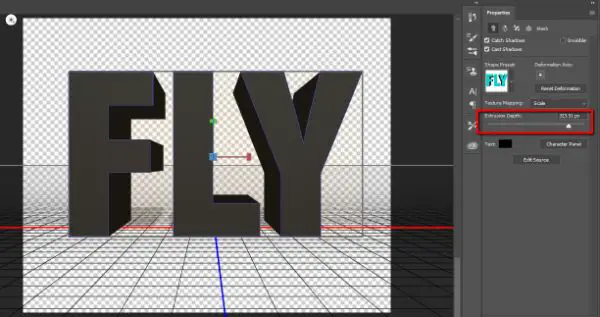
Once you are done giving effects to the text, create a new document in Photoshop. Then give dimensions as per the need to the animated text that you have created. Select the font style, new pixel dimension, document size or resolution. Extend or diminish the size of the text using the font size. Decide what kind of dimension is needing in the typography animation that you have selected. Dimension is technically the document size.
Giving dimension helps in giving precision to the whole animation. The size would determine what quality the animation would need. Just by giving the effects doesn’t complete the work, but the size or pixel of the document must be known to proceed in a way which gives the idea of other steps to be followed. The width, height and pixel of the image establish whether the image is perfect as per the quality the animation needs. Giving dimension brings an altogether more significant difference in the text, so choose wisely.
4. Choose background:
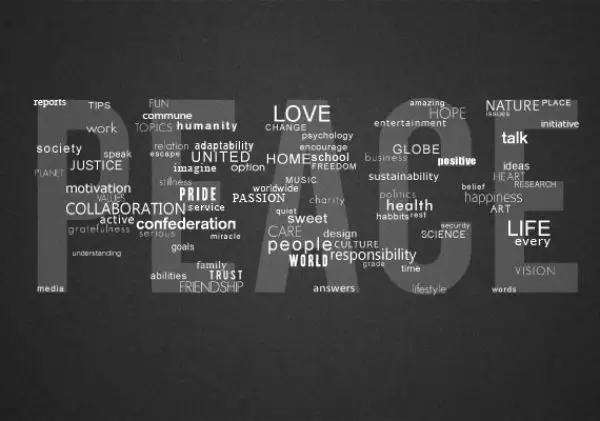
The major part of playing with the text is covered above. Now the suitable background is to be selected to give the animated text a visually better backdrop. Wisely selection of patterns and color should be made else the animated typography wouldn’t affect the way it should. The appropriate background helps the animated text to be uplifted and presented the way that seems to be appealing. The background is one of the layers that is a crucial thing to be taken care, as no matter how better your text may look, it necessary that the text and the background should vibe together.
You would have to visualize how your text looks with the background with the animation. The pattern and color of the background play a significant role in highlighting the text. The background shouldn’t be in a way which makes your text take a backseat visually. No doubt the background and the text may individually be tremendous but not together. Nor should the text blend with the background that it would be hard to read, but stand out altogether yet sync with it. Let the background be the support for the text that keeps moving around yet accommodating it.
5. Choose filters:

The filters are the best kind of experiment to be done with the animated typography in Photoshop. There are many options in filters to give it a try. Before you give filters, select the layer you want to add a filter. Multiple layers can be given filters only if you have activated it. If you don’t want to change the actual image and still bring add filter to it for trying, select the smart object. Select your text and try filters that you think would suit the whole design. Selection of filters should be solely based on the type of animation you have done. You can play with the filters on your text. Try giving artistic, blur, blur gallery, brushstrokes, distort, noise, pixelate, Render, sharpen, sketch, Stylize, texture and much more.
Even in these filters, more options are available to create more intrinsic work. The filters give much more depth to the typography. Using filters should widely depend on whom you are designing for and their requirements. The artistic filter gives you an option like colored pencil, smudge stick, cut out and underpainting and much more. Texture filters let you add textures including grain, patchwork and stained glass. Stylize filters gives options like solarizing, diffusing, embossing, finding edges and much more. Moreover, the filter plays a significant role in how the text looks overall. If you want to give proper depth and gravity to the animation appropriate filter must be used.
6. Give layers to it:
You can add multiple layers to the selected text to give it the required effect. There are many layers, to begin with, it would take time to finalize it, especially when it for typography animation. There is layer filter, Opacity, blend modes, fill-opacity and much more. You can lock the layers if you want no one to edit it.
Layer effects let you add special effects to your image layer, and many numerous effects using at a time. You can add a layer mask which allows changing parts of your layer without making any change in your actual image. You can also find the 3D layer and can put in your typography animation.
7. Select frame:
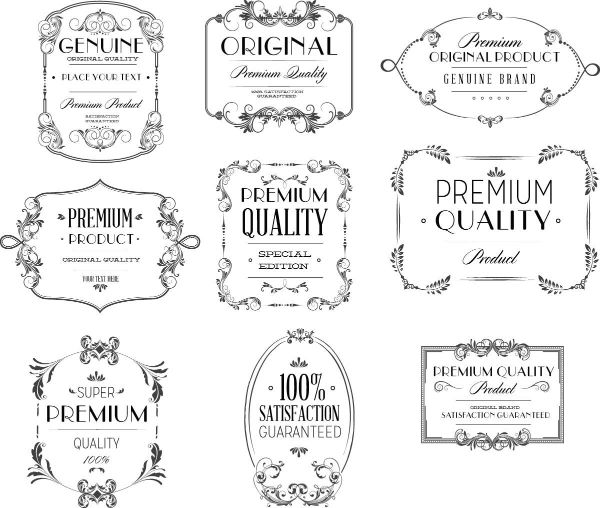
Typography animation is one of the visually captivating for the viewers. To give your text animation a final touch, you can add a frame to it. Open the animation option and create a frame for your designed typography. The main task is complete in the above steps; all now you need to give is a proper finishing with a suitable frame.
You can select the time frame and create multiple frames for the same design and then after animating it; you can finalize on one. Majorly when it comes to typography animation, there is much trial that needs to get the desired result. You may never know which frame would work out for your design and give a right look.
8. Save in GIF Format:
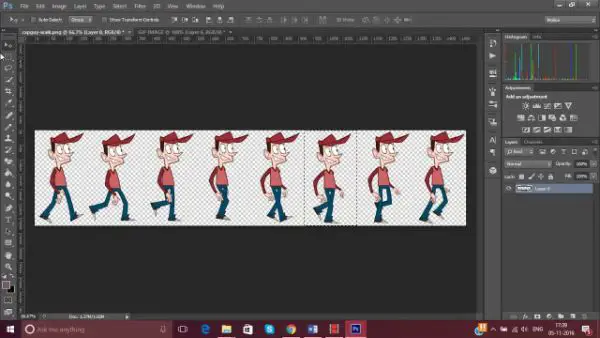
Saving in GIF format is the final step towards your typography animation. The default format for saving animated files is GIF Format. So once you finish with adding effects, layers and animation save it in GIF format.
When creating typography animation, there are certain things to take care of. We now know how to create typography animation, but there are things to be considered while creating one. Make sure your animation is not more than 3 minutes. Any typography animation should not be so lengthy that the reader would lose interest. It tends to get boring if the visual keeps on going after specific minutes. When any typography animation is creating, it is better to have an audio file that supports it.
The audio file must be of high quality that complements the animation. The typography animation must have a better clarity which gives the reader a better visual and shouldn’t be distorting. One of the main thing that needs consideration would be the typo error in the typography animation. The text is animated to create and convey an emotion among the readers. The moment there is an error in the text, it would divert the readers and thereby giving way to ambiguity. Errors in the text is an excellent turn off when it comes to typography animation as the text are the soul of it. Save yourself of the embarrassment by correcting your typos.
Now a day’s typography animation is used in marketing and has received a considerable acceptance. It reaches the audience at a different emotional level in a beautiful way.
Following the above steps, you can reach to your path of wisdom and create typography animation using Photoshop. You can experiment on your own with new text styles, layers and backgrounds and master on it by yourself just following the above steps.
Comments are closed.