Line25 is reader supported. At no cost to you a commission from sponsors may be earned when a purchase is made via links on the site. Learn more
Adobe XD is a platform aggregated to put all expert graphic design guides in the UX space. Before the launch of Adobe XD, designers relied on the creative cloud for their UX design work and were getting it done using Adobe Photoshop or Illustrator. While some users still prefer using Photoshop and Illustrator for UX design purposes, Adobe XD is built with a specific focus on UX designs.
Many designers feel hesitant to try out a new platform, so they stay away from XD. However, Adobe XD is one of the most intuitive and responsive platforms that makes creating wireframes and prototype apps and websites much more straightforward. In this guide, you will learn everything you need to know about Adobe XD.
1. Get started with Adobe XD
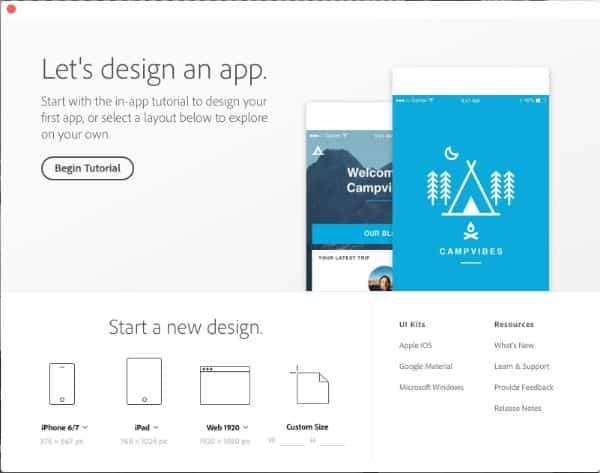
Starting the app, you would be introduced to the Start screen. If you are a new user o this platform, use the ‘Begin Tutorial’ button. The tutorial starts by showing you a screen with panels to explain the basics of XD. This would help you quickly grasp the fundamental elements of the app. It helps the user to understand how to create artboards, import images, and much more. Once you get done with the tutorial, go on to creating a new project. When you select new from the ‘File’ dropdown menu, it introduces you to a screen that looks familiar to the ‘Welcome Screen.’
Here you get to choose the target screen resolution for your project based on website, device, or by entering custom size values. Once you finalize the project size, you would be introduced to the Adobe XD interface. The interface has two main components – Design and Prototype. The design tab is where you can construct all the elements on artboards. Each artboard is represented on a different screen. Using XD, you can also create some basic outlines or shapes if you want. There is always the option of importing artwork from any third-party applications as well.
2. Get acquainted with the powerful features of Adobe XD:
Adobe XD has all the necessary features needed in a UX tool. Most of these features are similar to those found on other popular Adobe platforms such as Photoshop, Lightroom, and more. For instance, the drawing tools are more or less the same as Photoshop. Then again, the layers in Adobe XD are very different than Photoshop to adapt and accommodate to UX designer’s way of working.
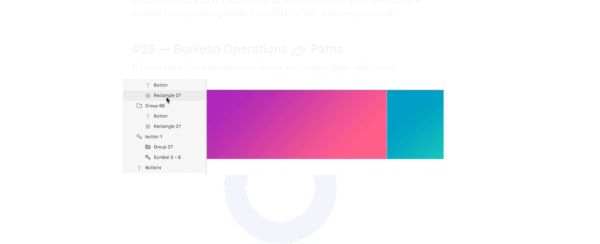
Each element in Adobe XD stays in its layer. Different kinds of layers have different icons to represent what kind of content is present on each layer. This makes it extremely easy for designers to differentiate between different shapes, folders, and images by looking at the layer’s pictorial representation. these are some of the best features of Adobe XD you should get familiar with:
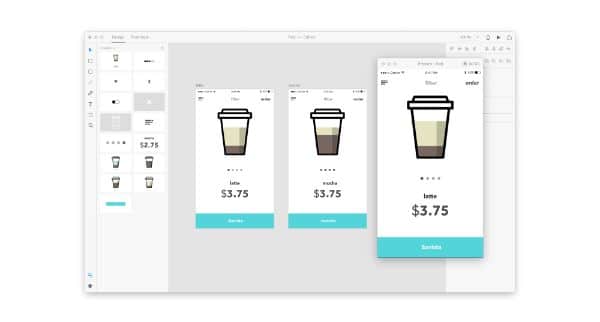
1. Repeat Grid:
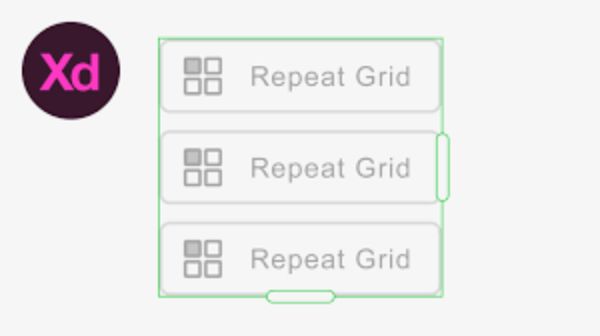
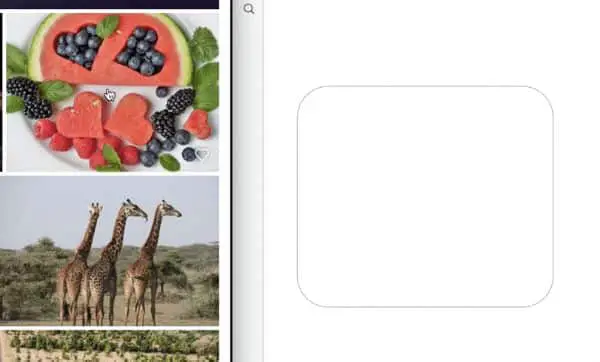
Repeat grid is one of the most beneficial features of using Adobe XD. You can create one or more objects at a time, select those objects, and enable the repeat grid feature. This helps you repeat the contained objects both on the x and y-axis. If you want, you can also increase the spacing between the objects to make them look like a group of objects or an individual object. This feature is handy for automating tedious and repetitive work, for instance, a list of images and text. If you create a grid of images for making a gallery, you would have to put in a lot of manual effort to get your desired appearance. With a repeat grid, you would get time to focus more on the visualization and not worry much about the implementation.
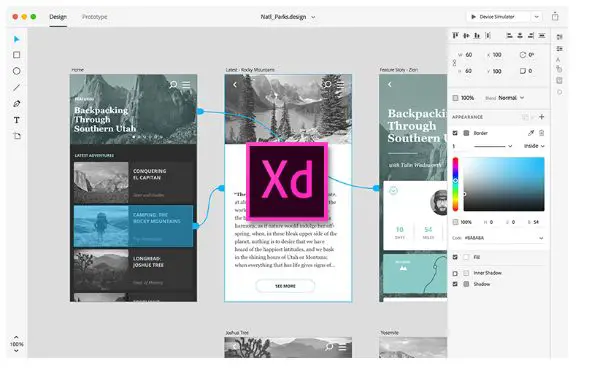
2. Prototype:
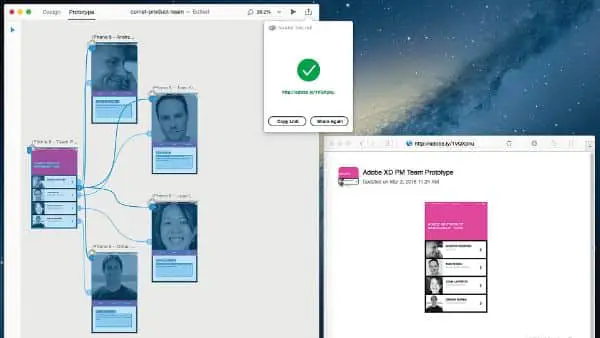
When you get done with your artboard designs, you would want to see how the app will function. To do this, click on the prototype tab present in the top left corner. Here you will be able to create links between your artboards that would create screens on the app. Creating links between screens is also very convenient. Select the object, and you would notice an arrow created to the right side of the confined box. Drag and drop this arrow to any other artboard to link it.
3. UX Kits:
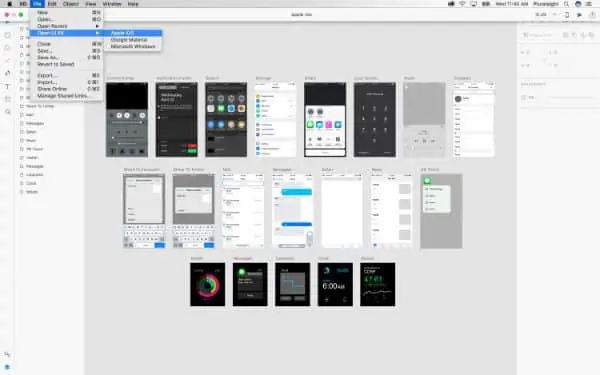
Adobe XD has impressive UI Kits that make it relatively easier to create mockups of native iOS applications, Google, and Windows platforms. Such kits are made with all the standard UI elements that should be a part of the respective platform. They also help you visualize how your app would look like in a native environment. It also saves time to make use of certain UI elements when prototyping the design.
4. Creative Cloud Libraries:
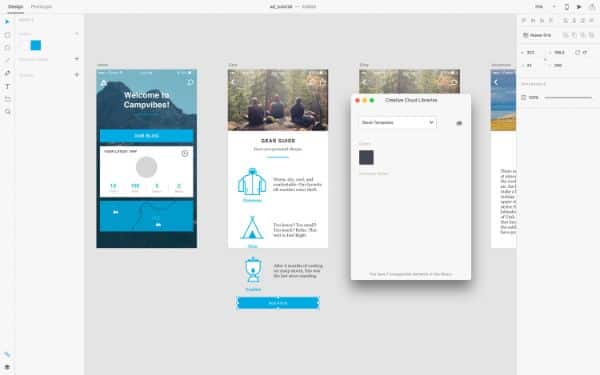
If you use the creative cloud, you would already be using it for sharing your assets such as images, colors, character styles, and all other elements across all of your Adobe applications. In August 2017, the same feature was enabled for Adobe XD. So you can access your creative cloud assets from your cloud. This can save massive time if you make use of Illustrator or Photoshop for creating assets for XD projects.
5. Symbols:
The symbols that are available on XD function more or less similar to how they work on Axure or Illustrator. Suppose you have an object that you need to use across multiple artboards; you can make that object a symbol. Once converted to a symbol, if you make any changes to it on one artboard, the changes reflect all places it is used in. This helps getting done with repetitive design elements quicker and without putting much manual work. It also reduces the omission error, whereas you forget to make changes to one of the artboards.
6. Preview:
When you link your objects to different artboards, you can choose between ease-in or ease-out transition. When you have everything set, you can press the play button on the top right section to preview the application. You can also download the iOS/Android app and work on the edits in real-time.
7. Export assets:
If you plan to design a native app, you mostly would need to export your assets when handing it over to a developer. By using vector objects, you can design in a 1:1 aspect ratio. The tools would provide you with 2x and 3x versions, both required by iOS and Android.
3. Tricks and tips for using Adobe XD efficiently:
Some many useful tricks and trips make using Adobe XD more fun and promising. If you make use of these tricks, you would be able to get the most out of Adobe XD’s potential:
1. Smart Guides – how to use or avoid:

Adobe XD has no guide feature like Photoshop does. However, when you drag and enable better postponing of elements, smart guides appear. This is the default behavior set up on Adobe XD. The problem with this can be that this could lead to unwanted snapping. To avoid this, you can press the ‘cmd’ key and drag objects to disable the smart guides temporarily.
2. Font Size Increase Trick:

This is a fun way of increasing and decreasing any text block’s font size on Adobe XD. When you select a text block, the selection tool has a ball-like cursor at the rectangle’s bottom. By dragging that ball up, you can expand the font, making it bigger, and by moving it down, you can decrease the font.
3. Copying image and masking:
It is very convenient to drag and drop images directly to your Adobe XD canvas. You can do it from a website or even by using the Finder. If you have a shape fill you want the image to take, drag the image into the shape, and it would fit according to the shape. In some cases, it is better to mask certain parts of the image. The mask would be applied from the top layer and would be non-destructive.
4. Reset the line-height using 0:
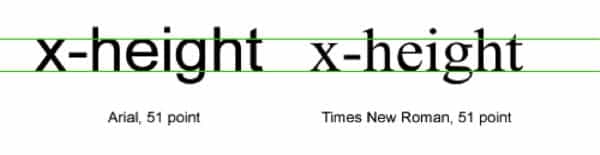
When you experiment with font height, you might try a few variations and feel your project’s original height was best suited. Now you won’t have to guess the value of the original height second, you can input 0 in line-height, and the height of the font would be reset to its original height.
5. Importing vectors from Adobe Photoshop:
You can easily transfer bitmaps between Photoshop and XD. Go to Photoshop; make a selection, and press the cmd+shift+c key that would copy everything visible under the selection. Then open your XD and press cmd+v (paste). You can now export vector layers from Photoshop by right-clicking on the layer and opting for ‘copy SVG’ and pasting it on XD.
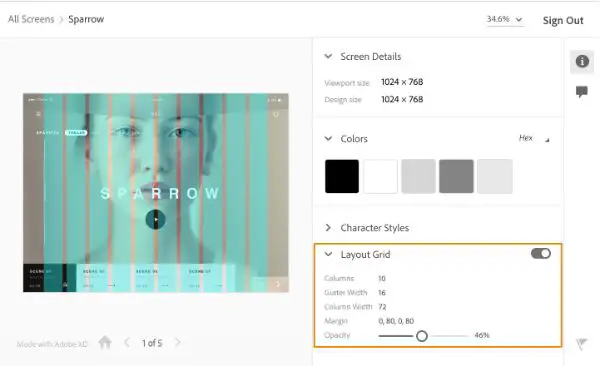
6. Make use of Style Guides:
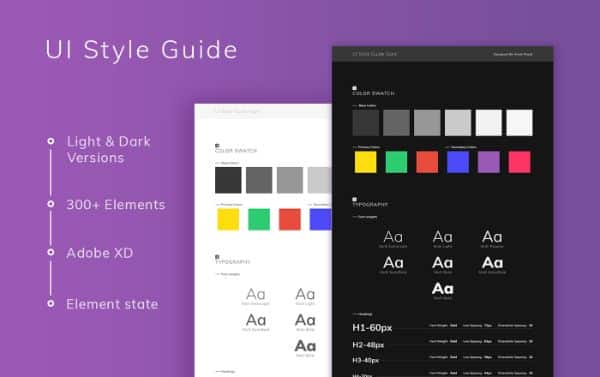
You can create a separate artboard for a particular style guide. Here all identity assets can be assimilated, such as – typography, brand colors, common styles, and controls like common icons, buttons, and inputs.
7. Switch between area text and point text:
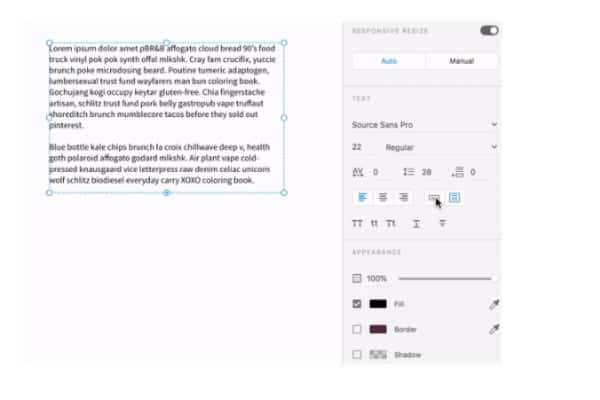
By making use of a property inspector, you can easily toggle between area text and point text.
8. Change opacity with ease:
When you select an object, you can easily change its opacity using the number key on your keyboard. 1 would make the opacity reach 10%, 2 for 20%, and so on. If you want 100 percent opacity, you can press 0.
9. Extend the artboard using fold lines:
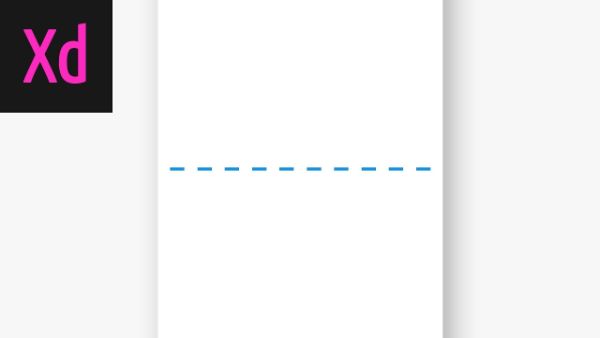
Fold line is a term used for web design. The Fold Line is the line above which the users can see your content without needing to scroll. When you open your XD the platform, click anywhere on your artboard’s space, click on the bottom-most handle and drag it down. Your artboard would expand and leave a dotted line in its place. This line is known as the fold line. An input reads ‘Viewpoint Height’ in the ‘Scrolling’ section on the right-hand side panel. This would tell you the number of pixels from the top of the artboard to your fold line, which helps understand how tall your screen would appear when previewing the prototype.
10. Rename the layers with ease:
Double click on a layer’s name and rename it. Now press the tab to switch to the next layer without having to leave the editing mode. If you want to move upwards, press shift and tab. This way, you can rename the layers with ease and much more speed.
You can get instant feedback on your prototypes by linking them and sending them to your teammates. Or you can also embed it Behance or Dribble using the embed code. Any users that receive the link can pin and post comments to exact spots of the prototype.
12. Make use of UI kits:
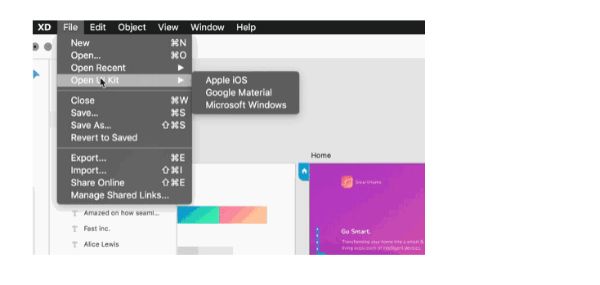
Adobe XD has access to Microsoft Windows, iOS, and Google Material UI kits that can be easily used by going to File – Open UI Kit – and selecting from any of three you wish to use.
13. Make mockups in Adobe Comp:
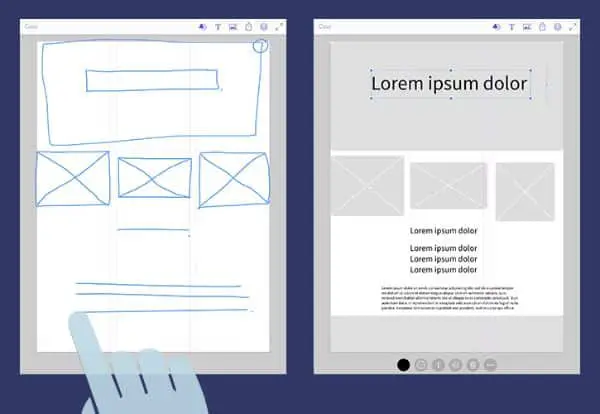
It is easy to create wireframes and mockups with Adobe Comp mobile app for Android and iOS. Prototyping user fingers and stylus can make the process quicker and lead to intuitive designs and many predefined gestures. Comp doesn’t directly support exporting to XD yet; however, you can export into illustrator and copy-paste it to Adobe XD for editable vector shapes.
This was the definitive guide for getting started with Adobe XD. If you are a beginner, or even a regular user, going through this blog would help you refamiliarize yourself with fundamental aspects and elements of Adobe XD. Make sure to use all the features and capabilities of this platform efficiently and in tandem with other Adobe software.