Line25 is reader supported. At no cost to you a commission from sponsors may be earned when a purchase is made via links on the site. Learn more
In the next few tutorials posts we’re going to go through the process of building a WordPress theme, starting today with the initial design concept in Photoshop. Follow this step by step walkthrough of the creation of the design concept for my Ticket Stub theme, which is based on a movie review type blog. We’ll create a full page design ready for coding up into a fully working website.
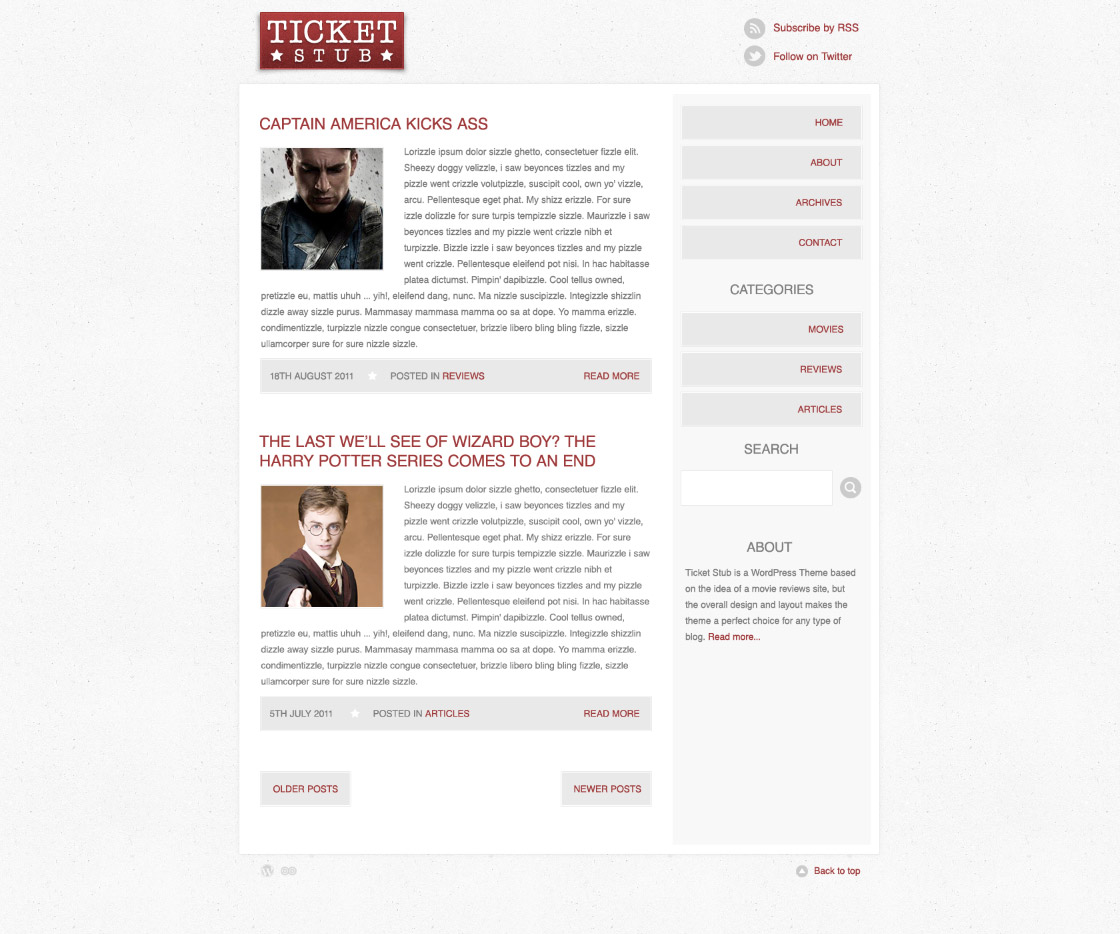
The theme we’ll be building over the next couple of posts is named Ticket Stub. It’s a clean and simple blog layout that’s set up as a movie review blog, but is generic enough to be used for any kind of website.
View the large scale blog theme concept
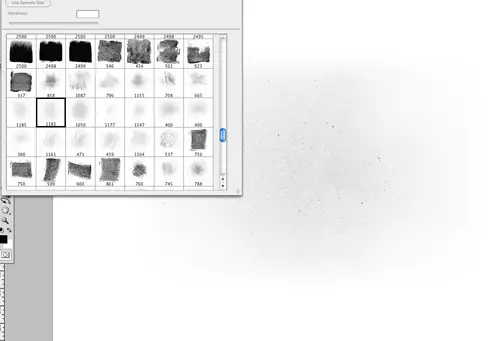
We’ll start by creating the background texture tile. Open up Photoshop and add a spot from a subtle grunge brush in the centre of the document.
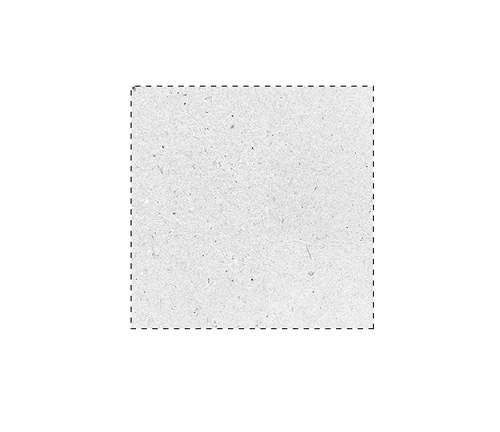
Grab the rectangular marquee tool and draw a square selection somewhere in the centre. Invert the selection and delete out the excess. It’s trial and error to find a section that repeats without any obvious edges.
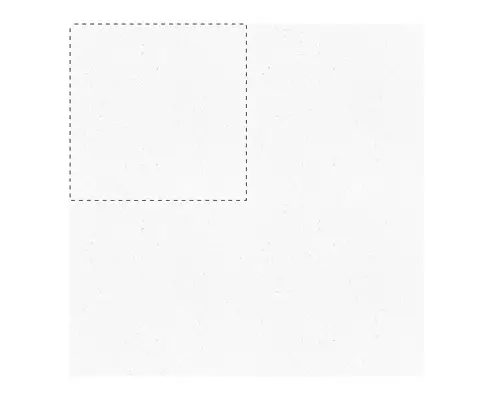
Reduce the opacity of the texture to around 30%, then see if it repeats correctly by duplicating the square to cover a larger area. Use the Clone tool to delete any unwanted particles in the original file.
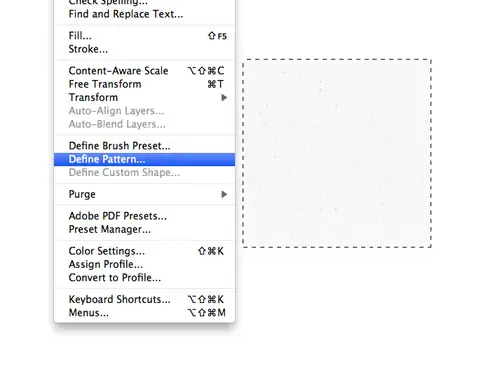
With the original texture file selected go to Edit > Define Patterns to save the swatch. Fill the background of your web design file with this newly created pattern file.

Outline a 960px centre area in the document and fill it with white. I use the marquee tool by right clicking a selection and choosing Transform Selection. In the top bar you can then enter specific dimensions.
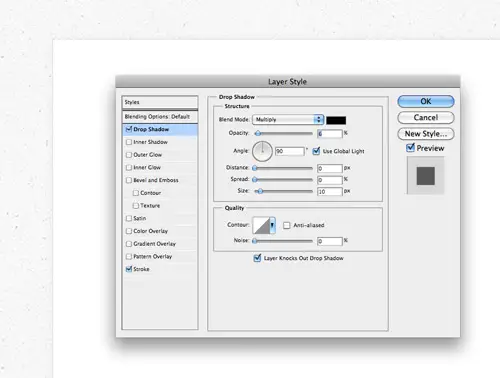
Add a very subtle Drop Shadow effect to the content rectangle. I’m using settings of 6% opacity, 0 distance, 0 spread and a size of 10px. Also give the layer a very fine 1px grey stroke to help define the edge.
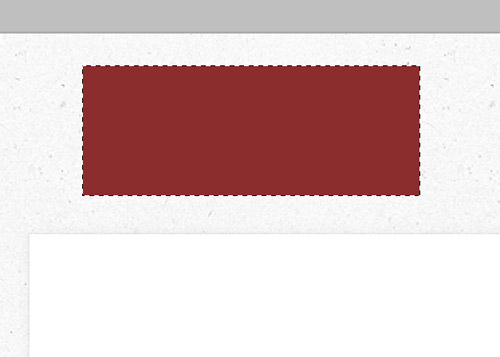
The theme’s default logo can be added to the space in the header area. Fill a rectangle with a deep red.
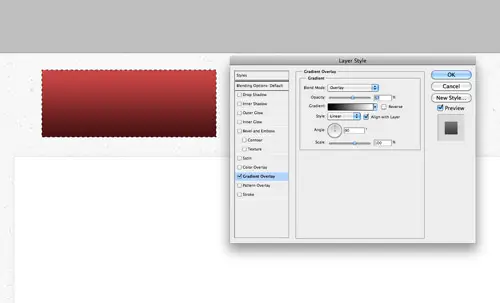
Add a Gradient Overlay using the Overlay blending mode. Reduce the opacity in order to tone down the impact of the gradient to leave a subtle change of colour.
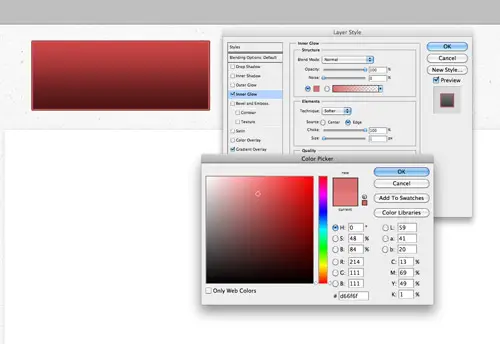
Add a 1px Stroke using a darker shade of red, then add an Inner Glow effect using a lighter shade. Adjust the options so the Inner Glow has a normal blending mode, 100% choke and 1px size.

Use the subtle grunge brushes to add a textured overlay to the logo using both light and dark red tones.
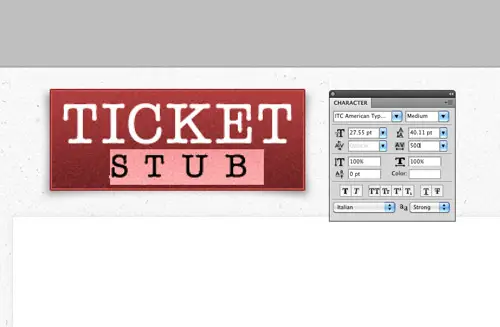
Add a spot of text to the logo. Here I’m using the American Typewriter font, with size and tracking adjustments on the word ‘Stub’.

Paste in a couple of star graphics from Illustrator and add a subtle drop shadow to the text to finish off the logo with a retro style cinema ticket stub appearance.
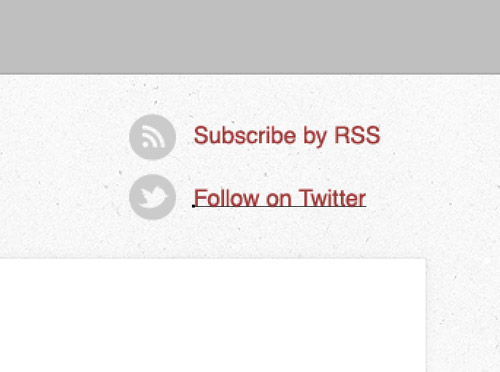
Add a couple of icons to the upper right area of the header for RSS and Twitter links. All text will be set in Helvetica in this design, while a deep red has been selected as the global link colour.
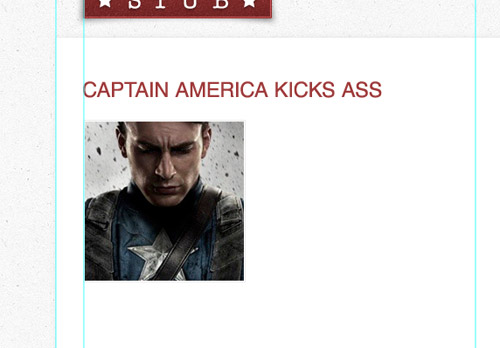
Use a guide to highlight a margin from the edge of the content area, then begin fleshing out a sample blog post with header and post image. Set the header to uppercase to help add typographic emphasis to these elements.
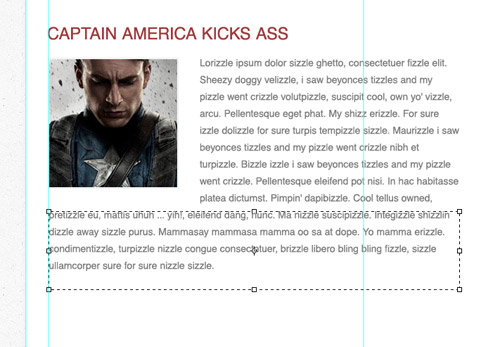
Generic dummy text can be used to represent the introductory content for the post. Set up the font at a legible 14px with a generous line height of around 24px to help with readability. Black on white would be way too contrasting, so a mid to light grey is selected for the body text.
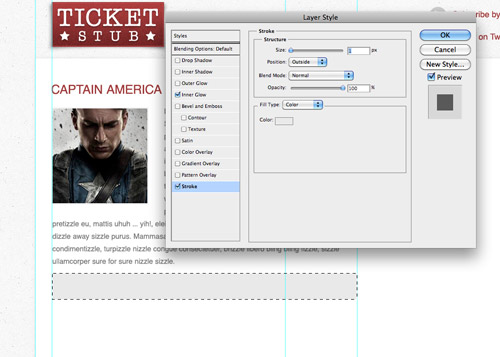
Blog posts also have snippets of information that are displayed with every post. These can be included in their own panel. Draw a grey rectangle across the width of the column and add a 1px stroke of the same colour.
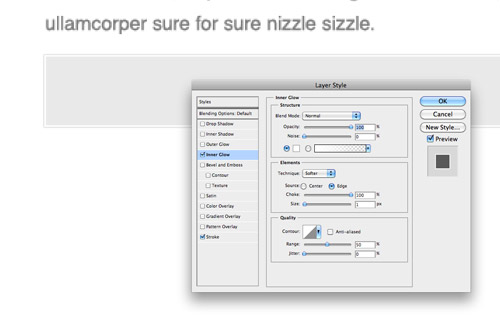
Set up an Inner Glow effect using the Normal blending mode, white, 100% choke and 1px in size to create a double border effect.

Use the same body copy text styling to add the date, category information and read more link for this sample post. Don’t forget to highlight links in the red link colour.
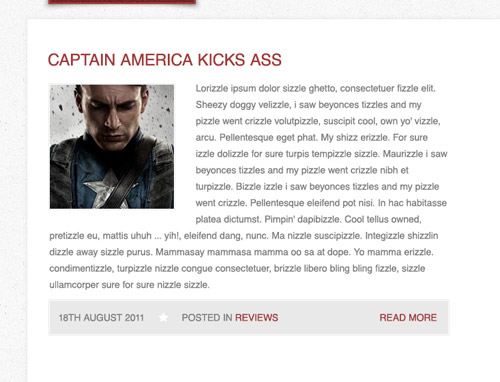
The date and category can be grouped together, separated by a little star graphic, while the read more link works well aligned to the right to suggest that it leads further.

Group all the elements that make up a sample post, then make a duplicate and position it underneath. Adjust the title to something much longer to plan how a longer sentence would wrap.
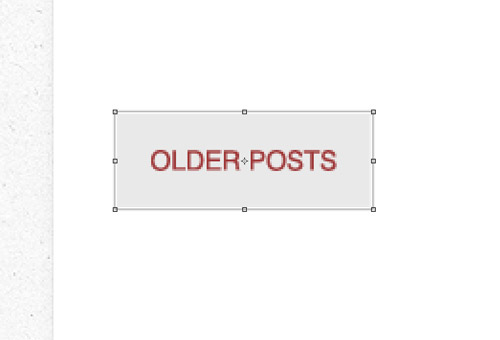
Use the same panel styling used in the post excerpts to create button elements for the older and newer post links.
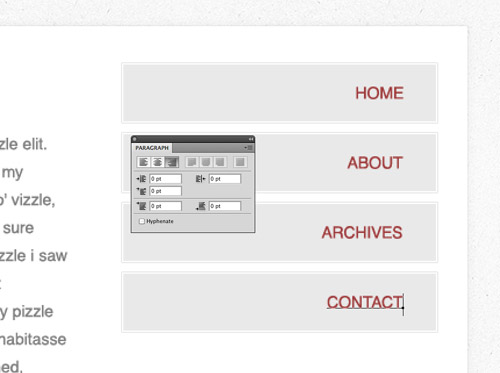
The same button styling can be used in the sidebar to allow for more prominent links to the blog pages and categories. Align the text to the right in these elements.
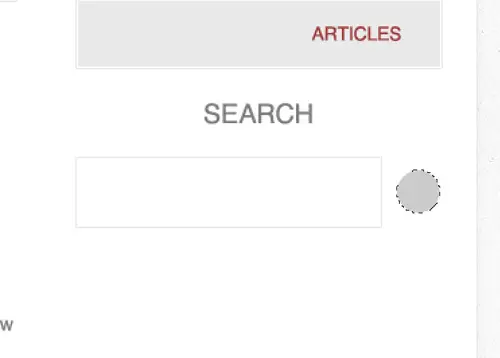
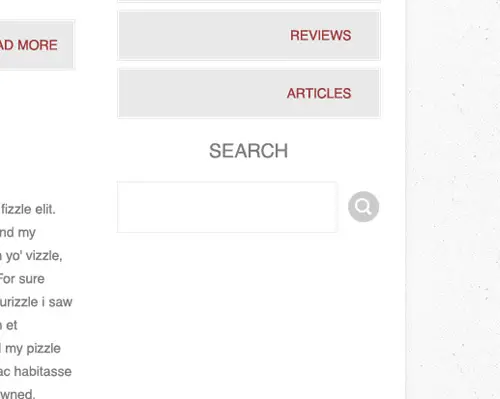
Create a search bar using a finely outlined rectangle, then replicate the style of the icons in the header with a grey circle.
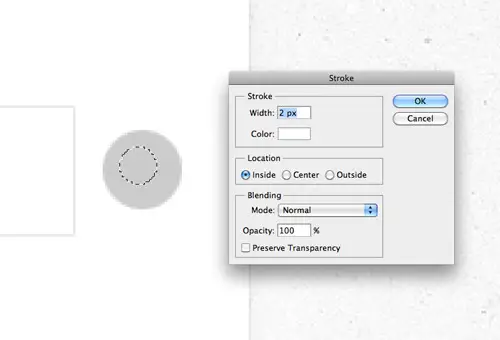
Use an Elliptical marquee as the base for a magnifying glass icon. Right click and select stroke to give the selection a 2px white outline, then finish off the icon with a handle using the Line tool.
It’s important to provide consistency throughout any design, using the same link colour, button styling and similar icon designs.
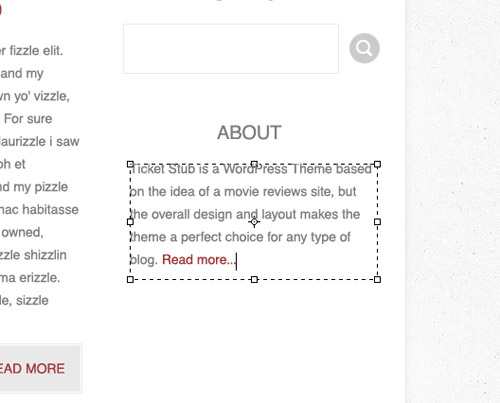
A short About excerpt in the sidebar helps fill out the empty space and provides another link through to other areas of the website.
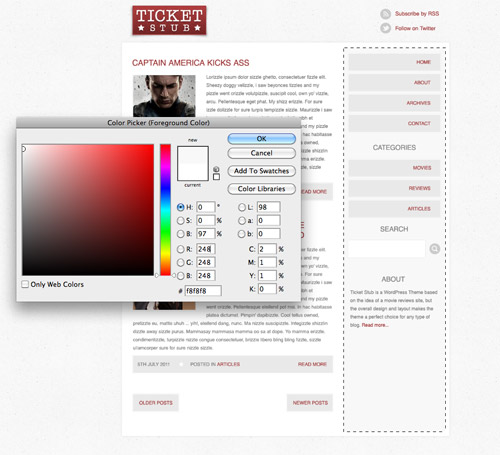
The sidebar currently blends into the content area a little too much. Draw a light grey rectangle down the right side of the design to enclose all the sidebar elements. This helps the content with its brighter white background stand out with more prominence alongside the slightly darker grey.
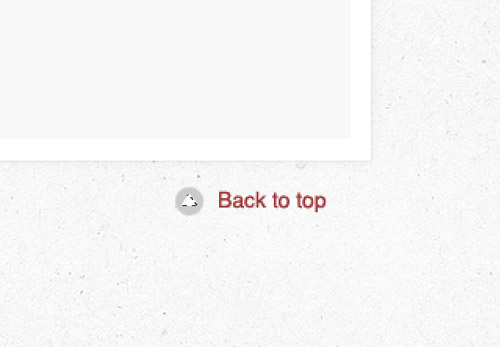
Finish off the design with a back to top link, again creating a little icon based on the same style as those in the header.
This leaves our concept for our blog theme homepage complete. Next time we’ll begin chopping up the design and creating it as a coded webpage with HTML and CSS.
I already created this and after your tutorial polishes my final result. What about PSD to HTML tutorial for next stage?
Easy tutorial to create blog theme using photoshop
thanks for this inspiring article.. worth reading
Nice post. Cheers!!
Nice tutorial,keep it up!!!!
It’s actually extremely informative tutorial, I truly would like to thanks to you. With the help of your blog I find out a new object in Photoshop. :)
Hi, I am a newbie Photoshop user. Will I be able to follow this tutorial ?
very neat and clean blog design. thnx to share your tutorial with us.
Wish I had these kind of articles when I was learning web design!
Good work Chris
i just love this post.
Where is the second part meaning making it web page adding html and css
cool work……….
it look simple but at the time of making real effort will come 2 know.
Another great tutorial, thanks for the tips
Great. One tip would be using vector shapes in Photoshop. This will allow you to re-size shapes (circles, squares etc) easily and not lose quality down the track.
But Awesome!
Good tutorial. Bookmarking for my design team. Thank you for this helpful post.
Another great concept tutorial, thank you!
Awesome tutorial! Thanks for sharing this techniques. The best thing I have found about some of these techniques is how often you have to use them in other projects.
I am in love with the final result of your tutorial, do you share the WP theme for free? Or if you want it to sell it I will buy, as long as the price it's reasonable and thank you.
Thanks Chris, Great creative design
Hey Chris, thanks for another inspiring tutorial. As always, your work is well presented and nicely finished!
Hey chris!, Could you next time code it into wordpress theme? :), i mean for practice ;D.
Thanks!
How did you get the drop shadow on the logo red background? It appears to bend and its just the bottom 2 corners. Please explain how!
Great tutorial. Always find some things I haven't done that way.
Chris, great tutorial. The gangsta Lorem Ipsum is nicely slipped in :)
Great design, and I love the way you used the colors. I also love the way the way you approached making a pattern.
FYI
The button that says "View the large scale blog theme concept" opens the modal popup with the same image 4 times
Awesome, as always :)
To avoid the trial and error on the pattern edges, you can offset 50% right and 50% top, and then blur/smudge the middle "+" that was once the edges. This method guarantees smooth repeating edges.
That's how I do it – except I use the healing brush and/or clone tool with a soft edge