Line25 is reader supported. At no cost to you a commission from sponsors may be earned when a purchase is made via links on the site. Learn more
In a time where design and technology are continuously updating, many new design trends keep coming up. However, with the constant need of coming up with something new, many designers go back to old designing tricks to create a fresh look and stand out from the crowd. Same goes for icon design. One such design practice is using hand-drawn icons. In times where there are complex designed icons, it feels good to see hand-drawn icons as they don’t look overwhelming, and are easy to relate to.
Generally, startups are making the most use of hand-drawn icons to reassert themselves as a fine bridge between old school and contemporary design trends. Making use of hand-drawn icons also shows a designer’s true creativity. This is because these designers aren’t relying on pixel-perfect stock icons.
These are 10 Tips for creating the perfect hand-drawn icons –
1. Always plan ahead:
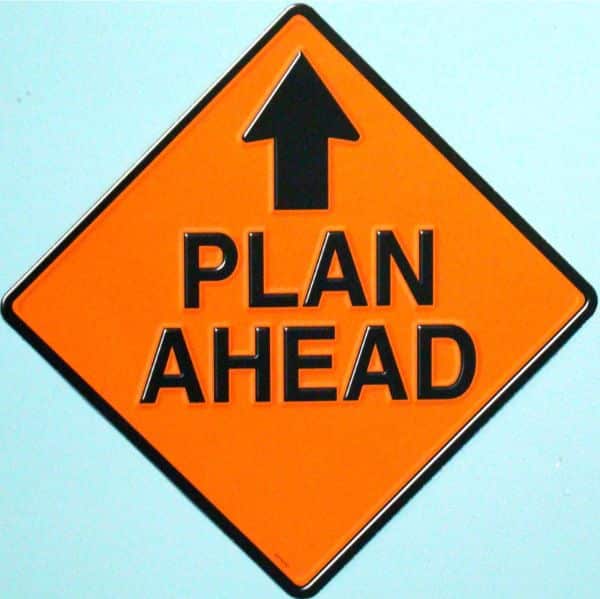
You need to plan as to what you want to draw. It can be very counter-productive to create sketch ideas and scanning them multiple times. The aim should be to have the minimum possible use of scanners, ideally one or two times. Hence, you should take time to decide what you want to do. Apart from this, it is ideal to have a reference sheet with the existing icons. Here you can create certain rules for your hand-drawn icons. The rules can be selecting between flat icons versus dimensional icons, soft edges versus rough edges, narrow versus wide and more. Don’t hesitate to make multiple forms for a single icon purpose.
2. Sketch your hand-drawn icons:
![]()
When you are sketching your hand-drawn icons, it is ideal to use a white printer paper. The paper should also have a slightly heavier weight. For a pen, you should use a cheaper black pen. Blue pens work too, but sometimes it doesn’t convert to black and white as effectively as using a black pen. Using a cheap pen is ideal because premium pens create a smooth texture that would sway away from the edginess for a good hand-drawn sketch.
It is also ideal for making use of a proper grid for guidance. Different guidelines can be used for different icon requirement. Ideally, geometric icons need guidelines to be smooth and aesthetic. Hence make use of grids before you start sketching your hand-drawn icons. Grids and guidelines also help make sure that all the icons are uniform in terms of size. The ideal size you should create your hand-made logos is the size you are expecting them to be viewed at on display. By doing this, you can see how much you need to limit your details of the drawing. This would save time that would be wasted otherwise when you’d realize your design isn’t fitting the given space.
3. Scan the hand-drawn sketch and improvise the small details:

Once you are doing sketching the hand-drawn icon, scan it to the computer at around 600 dpi. Make sure all the small details and pen strokes are visible, as well as sharp in full size. Now import the image to Adobe Photoshop and rotate the image if required. Now the next step is turning the image of the sketch to Grayscale. For this, go to Image Mode and select Grayscale. Now increase the contrast levels by using the levels feature. Ensure that you tick the preview option. Now move the levels line to the right till the lines are nice and rich. Then move the right-hand marker to the left till the page is white. This won’t affect the lines of the sketch. Erase any unnecessary or unneeded bits by using the Eraser Tool.
4. Switch to Adobe Illustrator Live Trace:
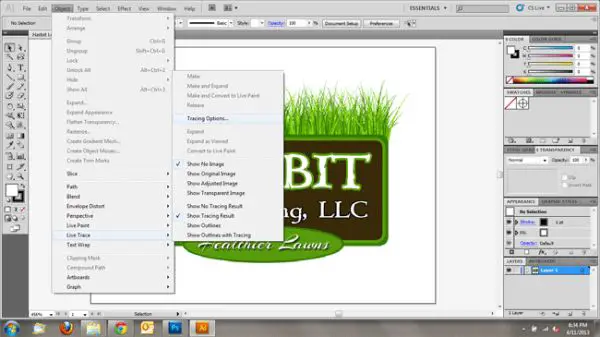
Adobe Illustrator has a great feature known as Live Trace. Live Trace is useful as it converts bitmap images to vector paths and shapes. The variety of options it has allows the user to have accurate control over the final traced image. It is ideal for converting black and white images to vector. Once the tracing is done, there would be a preset arrow on the side of the Live Trace button. Click on that button and select the select tracing options button. There are a variety of settings available to choose from, and what suits your drawing would depend on the drawing style and the scanned image. Keep experimenting with different styles until you find the ideal one. The preview section can be used to see the results of the value adjustments you made.
Many changes can be made to an illustration using live Trace. You can increase the black lines that Illustrator should recognize by reducing the value for Minumum Stroke Length, Corner Angle and Minumum Area. Doing this helps Illustrator create more lines. You can convert the image to black and white and grayscale as well. Using grayscale, however, would give you lesser options. The entire hand-made logo would have softer aesthetics. On the other hand, black & white allow more gradating. One necessary practice is to keep the avoid whites button checked.
5. Alternatively use Pen Tool:
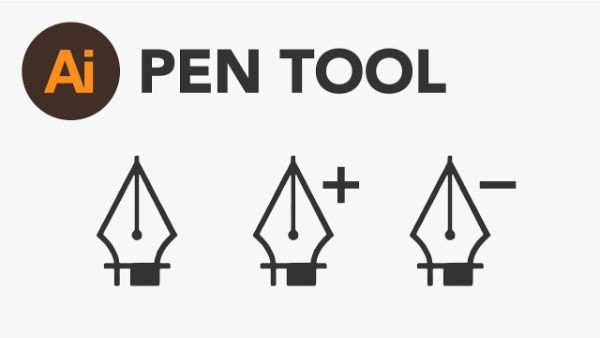
Live Trace can lead to creating too many layers and hovering through them can be challenging at times. For times like these, you can rely on the Pen Tool. Pen Tool gives more control over the hand-drawn icon. You can use points on the artboard. Illustrator would connect these points. You can also manipulate the curves of the points by using Bezier curves. For this, you would import your image to Illustrator using artboard. Firstly, put the illustration in a layer using the Layers panel. Make sure this layer is locked. Secondly, create a new layer for grouping things. Depending on the number of shapes create as many required layers. Use different colors for differentiating between them.
Start by dropping a point on the vertex using the Pen Tool. Though you can add many points using the pen tool, it is ideal to use as less of them as possible. This helps the logo remain smooth. Make use of points where the shape is changing or curving. Initially make a rough path, because you can go back and refine these points using Direct Select Tool.
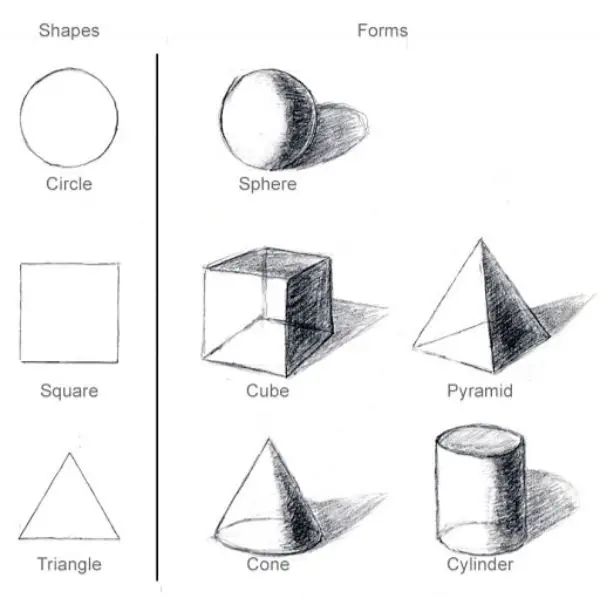
6. Keep it simple:
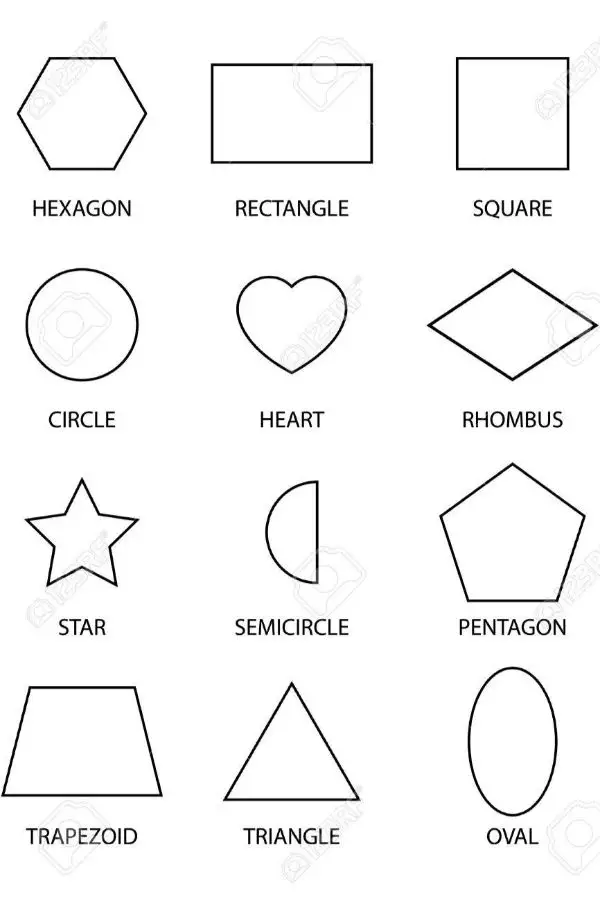
Hand-drawn icons have an immediate advantage that you can rely on simpler forms and shapes in design. These are the building blocks for any logos and icons. When we compare this to the computer-based logos, there you have options to choose complex shapes as their fundamental beginning point. Hand-drawn icons should reflect simplicity and minimalism. Hence using basic shapes is not an easy way out, but the need of the hour for hand-drawn icons. This doesn’t mean that the icons would be boring or less creative.
On the contrary, using fundamental shapes helps a design gain instant recognition that helps the brand talk about their brand in the least needed shapes, lines and a combination of both. The lesser the consumer has to process to make sense of an icon, the easier it would be for them to recollect your icons and use them as well. For instance, if the logo is for a dialer, and the design is a simple dialer, it would be instantly understood, whereas a complex design might try to make it fancier which would then get subjective for some people. Not all would be able to understand the connection instantly. Hence hand-drawn icons should be simple, and utility-focused.
7. Add depth by using abstraction:
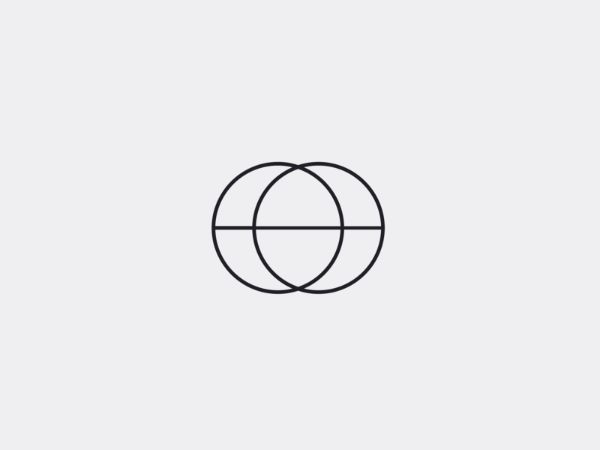
Hand-drawn icons should use simple fundamental shapes at their core. Most of the times, using just them would give awesome icons. However, there is also a limitation of fundamental shapes. There are only a finite number of them that you can use. Hence, at times you could run out of ideas for icons if you stick to simple shapes. There could be two icons in one client’s work that could be represented by a circle. Here you can’t use the same circle twice. As a result, abstraction helps to make use of the fundamental shapes and providing more variety and depth to their design.
The same circle can be blended with other fundamental shapes to add depth to the meaning of an icon. This would also increase the interest levels of these icons; moreover, the potential of use for each icon would also increase tremendously.
Abstraction uses psychology to producing open interpretations among the audience. The abstract doesn’t have to relate with complex or cluttered. That is a misconception as a hand-drawn icon can be minimalist yet abstract. This would add depth and aesthetical value to your icons.
8. The human touch:
The purpose of making hand-drawn icon is to differentiate it from the computer-based icons. Hence the same should reflect in your hand-drawn icon design. The differences should show between a hand-drawn icon and a computer-generated icon. A hand-drawn icon needs to feel like there’s a lot of efforts put into the design, and it is made with utmost care. When this is reflected in the icons you create, the audience also perceives the icons with more respect and appreciation. Make sure the effort behind each icon is the same, at least visually if not actually. Each icon’s strokes, lines and curves should communicate something about the icon.
9. Add visual texture:
Visual texture regarding visual texture talks about how we can add more depth to the hand-drawn icons. The shapes are basic; hence using textures can add more depth to the overall icon design. In addition, this also helps in conveying some emotions. Some different styles and practices can help introduce visual textures to hand-made icons. You can experiment with shadow and shading, lines, curves, dimensions and stippling. Adding textures help the icons look more close to life. Textures are very important for black and white or grayscale icons as textures fill up for the lack of colors.
10. Using a consistent design element in all icons:
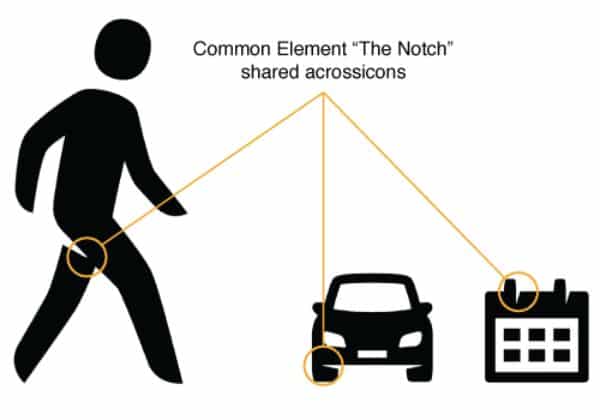
This isn’t an absolute tip, however, this is an additional tip that can put you ahead of other hand-drawn icons. A simple yet effective way of adding more character to your hand-drawn icons can be using a simple design element throughout all the icons of the order. This helps create synergy behind the icons and audience appreciate the thought and effort behind the practice. It can be a set accent or a stroke in icons that can be found in all icons from that order. If you are having difficulties to adjust it in all icons, use it in most of them. Don’t force it in. This would instantly give a more aesthetic value to your hand-drawn icons.
These were our 10 tips for creating the perfect hand-drawn icons. Make sure to keep all these considerations in mind while working on your next hand-drawn icon project. It is ideal for creating multiple options for each icon that you can shortlist from in the later stages.