Line25 is reader supported. At no cost to you a commission from sponsors may be earned when a purchase is made via links on the site. Learn more
There are so many tips and tricks you can work with when you are working with Adobe Illustrator. A vector graphics editor, Adobe Illustrator is a powerful software that helps designers with creating and modifying graphics. It is a brainchild of Apple computers and was designed for use in Windows 10 and Mac OS. But working with Illustrator is not very easy and hence, very seasoned graphic designers use hacks not many people know to make the work easier. There are many Illustrator hack that let designers work quickly and enhance their skills in new ways.
This article focuses on how you can work with your graphics in Illustrator with certain hacks. These hacks can make a world of a difference and can ease your work, taking away a lot of burden from your shoulders. Let us go through each of the hack.
1. Using the Pen tool:
The most powerful and potent tool in the Illustrator is Pen tool. You can define and manage your anchor points while adjusting the curve related to those points. This is possible by controlling two points connected to each anchor. It can be at times tricky to use the Pen tool. But a pen tool is the best tool when you are working with tracing sketches and drawing customized vectors. This tool is a favorite tool among the best graphic designers because of the level of the versatility it offers. You can learn to use the tool through exercises if you are at a beginner stage. And if you know how to use the pen tool, well, use it frequently to master it.
2. Turning the text into outline:
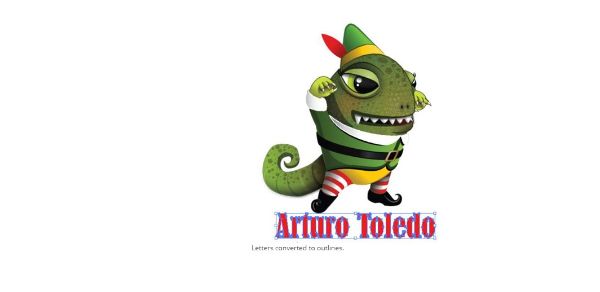
With Illustrator being a very significant software in the world of graphic designing, you can change the text into the outlines. This can be established by turning the text into an object and then it becomes un-editable through the text editing functions. You wont be able to edit the text by typing or pressing the backspace once you turn it into an object. With this, it saves you from the need to send the fonts for whoever wants to use the graphic file. This can prove to be a problem when you have to send the artwork to the printing press. Your document may not get printed correctly if they don’t have the fonts that you have used. This is the basic reason why you should learn to change the text into outline. Using this, the text gets converted into an object which can be modified the way you modify other graphics. This is a great Illustrator hack.
3. Using Clipping mask:
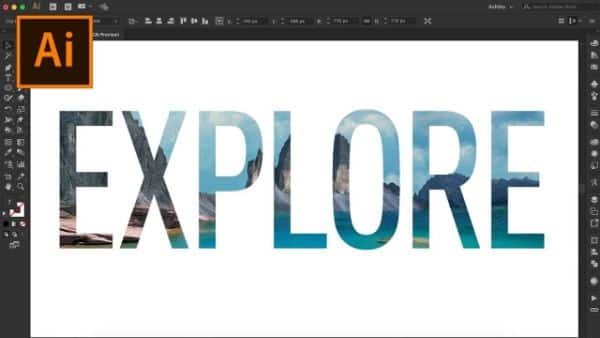
Clipping mask is defined as an object the shape of which, other artwork is masked in a way that the areas that are within the mask are visible. It can be termed as clipping the art work according to the mask’s shape. The clipping set is defined as the group of objects that are masked as well as the clipping mask. To make your graphic designing projects easier, you need to know what is clipping mask and how does it work. You can edit, add or remove the elements inside the mask using the clipping mask. A clipping mask can help you make amazing graphic design projects and artworks.
4. Learn about the Strokes panel:
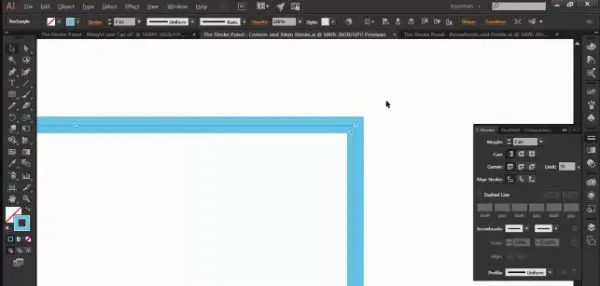
Stroke panel is a panel with various tools that help you manage the strokes in your graphics and artworks. Located on the right side of the screen, you can control and change the weight of the selected stroke. You should have an idea about what each control in the strokes panel does. Once you click show options, you will be able to uncover the rest of the tools in the stroke panel. There are tools like Cap, Corners, Align Stroke, and Width Profile in the stroke panel that you can use to your advantage. These tools can help you add a personal touch to your work thereby enhancing it on a different level. By default, whenever you draw a stroke, the stroke weight is preset. But, if you know how to change the weight of the stroke, you can change the face of your graphics.
5. Shortcuts to paste with perfection:
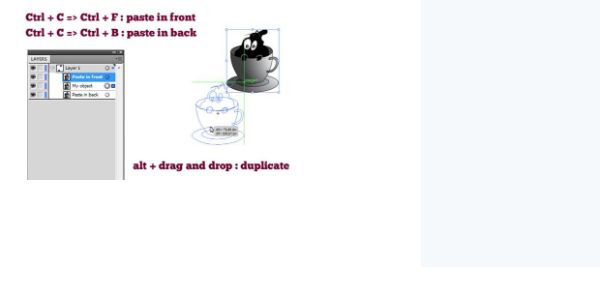
Shortcuts are a great Illustrator hack, when you are running out of time. Everytime, doing something using a mouse is very time consuming. Every graphic designer uses copy and paste in each and every project. Hence, they should finish such process using shortcuts to minimize on the time consumption. These actions can be accomplished using menu bars. Yet, we have found the shortcuts to help you cut down on the time you take to finish the entire project.
Pressing CTRL + F, copy your entire graphic object and places it above the old copy. This is useful when you want to have alignment that is pixel-perfect. Pressing CTRL + B can copy and paste the selected object behind the copied object. When you press ALT while dragging an object, you can duplicate the selected graphic element. But it works only when you release the mouse button before you release the ALT key. If you release the ALT key before you release the mouse button, it will simply drag the object from one place to the other. Also, you can press SHIFT key to have the guide to where the object is being moved. This trick is useful only while moving the object while finding the perfect alignment.
6. Detach the frequently used tools from the toolbar:
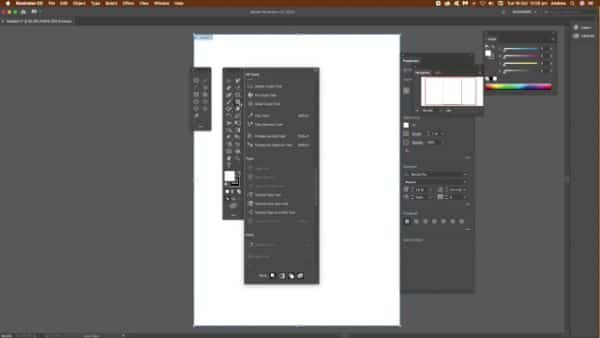
There are certain tools that are every graphic designer’s favorite, which they often use frequently. Hence, it is always advisable to have them detached from the fixed toolbar. It is important to note here, that not every tool can be detached from the toolbar. But those that can be detached, should remain floating freely. This free availability of the toolbar can make a graphic designer’s work very easier. It saves time when you don’t have to look for a certain tool that you use frequently. Even if you have to use a tool for multiple times in the same project, you should keep the tools floating to have an easier access. This is a great Illustrator hack.
7. Flexibility with rounded boxes:
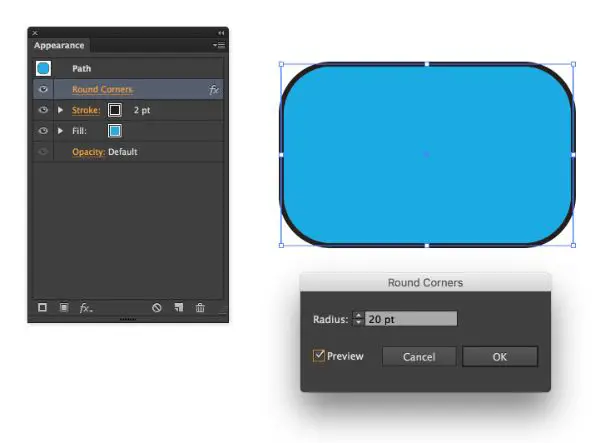
Rounded box is a very frequently used UI element these days. You can point the rounded box anywhere in any recently developed graphic design projects. Illustrator offers you a special tool for this: a rounded-rectangle. This tool lacks the flexibility and hence it is difficult for the graphic designers to work with it, especially the beginners. Once you’ve formed a rounded rectangle on your work sheet, you have to work anchor by anchor in order to scale or resize it. This may even lead to deformation of the shape and may end up looking like a strange, formless art.
If you want to avoid these issues, create a regular rectangle and then go to Effect > Stylize > Rounded Corners. This can help you form a flexible rounded rectangle by creating a regular rectangle at first. The resultant figure is a flexible rectangle that can be resized as you please. Secondly, to change the size of the corner, you have to go to the appearance panel and double click the rounded corner style button.
8. Using Symbol libraries:
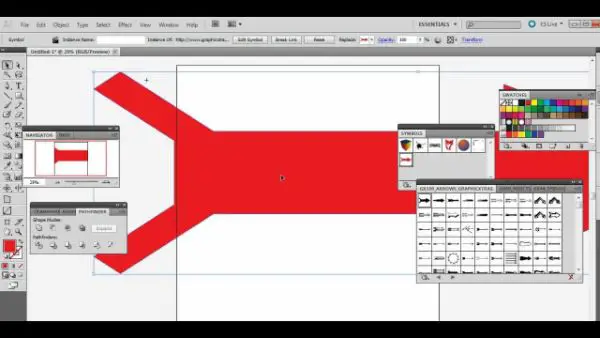
One of the most significant feature of Illustrator is, its ability to store and re-use the objects and symbols in the symbols panel.This is a great Illustrator hack. Using Symbols panel, you can save your objects and symbols which you can use not only in the same project. You can also use these symbols in different projects. Symbols panel provides a ready to use library that comes handy when you want to make use of previously made symbols and graphics.
You can do this by selecting all the required symbols, and then clicking the new symbol button in the symbols panel. Once you have successfully created a symbol, all you have to do is to drag the symbol from the symbol panel to the worksheet. The most important point here is, your symbols are completely modifiable according to your requirement. But, if you choose to modify the symbol, all the instances of that symbol in the page are modified. You have to double click on the symbol in the work sheet, if you want to edit the symbol definition. Once you change the definition, you have to remember that all the edits are going to be applied to the preview icon and all the instances of that symbol.
9. Customized brushes:
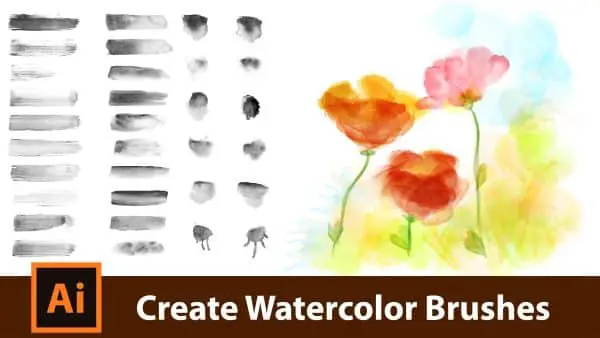
Beginners don’t know this, but advanced designers know that they can create their own custom brushes to design their document. If you think that the existing tools don’t work according to your requirements, you can always create your own brush. You have to select the shape from which you want to create a brush. It is also possible to create a brush from a square shape tool. You can now go to Brushes palette and click the arrow to select the “New Brush”. From all the four options regarding the type of the brush, you have to select the “New Art Brush”. You have to specify the direction of the brush stroke so that you can perfect the strokes. It is advisable to have several customized brushes already created so that you can simply take up the required brush and start working. If you are a beginner, you should go through online tutorials for this. For advanced users, they can use custom brushes to enhance their art work. It enables them to use these brushes to use in various projects according to their client’s requirements. This is a great Illustrator hack.
10. Using multiple artboards in the same document:
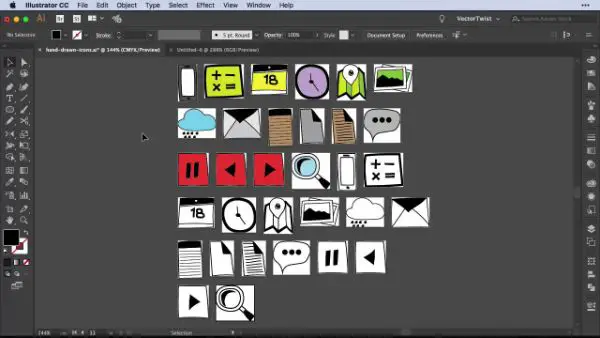
Illustrator is deemed as a very potent graphic design software because of its various abilities. One of them is to create multiple art boards in the same document. Artboard is the area where you develop your graphics and which is printable. This is useful when you want to have multiple artboards within the same document. For instance, you can have different webpages of the same website which can make use of multiple artboards.
Each artboard has a mind of its own, yet all the layers are common to each artboard. You can press CTRL + o to create a new artboard. It is possible to resize, duplicate and delete the artboards as per your requirements. Artboard is similar to flexible pages within the same document.
11. Opacity mask:
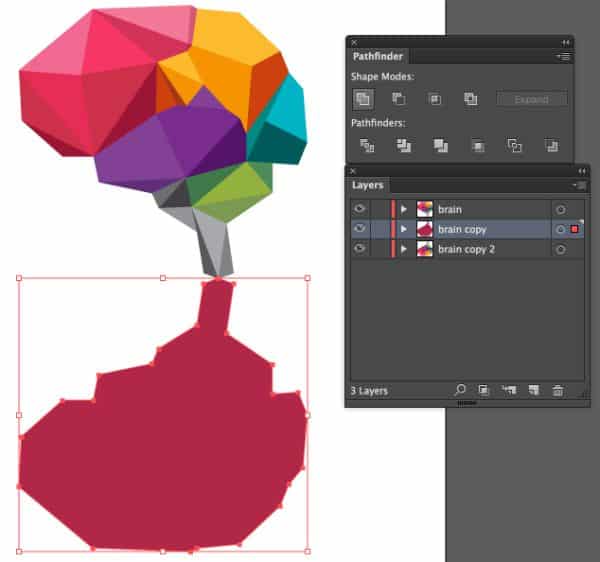
An opacity mask is a combination of clipping mask and a layer mask. It is possible to control the appearance of a shape or a symbol using opacity mask. You can use opacity mask to blend different colors uniformly so that the graphics appear unique and clearly. To use an opacity mask, create a shape and then go and open the transparency panel. Here, you can spot the preview of the selected shape. On the right of that preview, you have to double click the spot to enable the mask on the shape. This is a great Illustrator hack.
Opacity mask in illustrator works exactly the same way it works in Adobe Photoshop: you can use black to keep the elements hidden and white to reveal them. To experiment a bit, you can try using gradients and changing the opacity. It creates an interesting effect on the selected graphics. This is how opacity mask works. You can create amazing artwork using Opacity mask, only if you know how to use it smartly and efficiently. Beginners can learn from the tutorials online while advanced graphic designers can implement the methods in their projects. As you keep on working with the tool, you can come up with new ideas as to how to use the tool.
Conclusion:
The above blog has focused largely on how to use many Adobe Illustrator hack that can up your working efficiency with graphic design projects. We have outlined the reusing of the symbols and elements that you frequently like to use in your artwork and projects. These hacks, if mastered correctly, can save you a lot of time and can help you create meaningful art easily. Hence, beginners once have known how to use Illustrator in its basic form, can refer this blog to learn about the tips and tricks to increase the pace with which they work.
