Line25 is reader supported. At no cost to you a commission from sponsors may be earned when a purchase is made via links on the site. Learn more
Adobe Photoshop is known as the most important software in the world of graphic design. It has so many tools like the brush tool, used by graphic designers to design various types of graphics such as logo design, greeting card designs – the possibilities are endless. It is an image manipulation tool that graphic designers use to enhance and edit media files. This application is available for use for graphic designers on both Apple OS as well as Windows OS. Adobe Photoshop is also used to create high-quality images and graphics in almost all of the industries at some point of time or the other.
It has so many features to tweak and change the images and graphics. And because of this, a licensed Photoshop software copy is very expensive and hence you should use only if you require the application for professional use. This software is used in almost every field where there is some designing requirement. There are tools like lasso tool, zoom tool, move tool, brush tool that a graphic designer uses. This blog would look at the impact of custom brush tool in Photoshop, how to use it and how to create one.
What is a brush tool in Photoshop?
Brush tool in Photoshop is a basic painting tool. It functions like a basic drawing tool by using strokes to apply colors. The tool is located in standard tool bar and its shortcut is the letter B. The Brush tool adds a shaped mark on the layer and you can print several marks by creating a stroke by continuously pressing the mouse button.
The Brush tool produces soft-edged lines that Photoshop substitutes with smoother strokes by a process called Anti Aliasing. This technique fills the pixels partially along the edge of the line to give our eyes an illusion of smoother edges. Our eyes merge the transparent pixels and give us a look where lines are smooth edged and not jagged.
The jagged edges appear the most in diagonal lines and Photoshop applies anti-aliasing to this to give human eyes, a smooth visual effect. So instead of using the Brush tool that comes with the Photoshop software, let us look at how to create a custom brush in Photoshop and unleash full potential of the tool.
1. Make a fresh Photoshop Document:
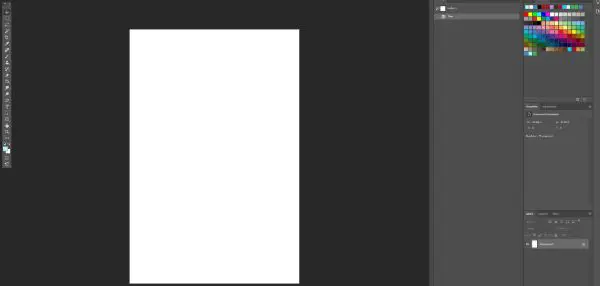
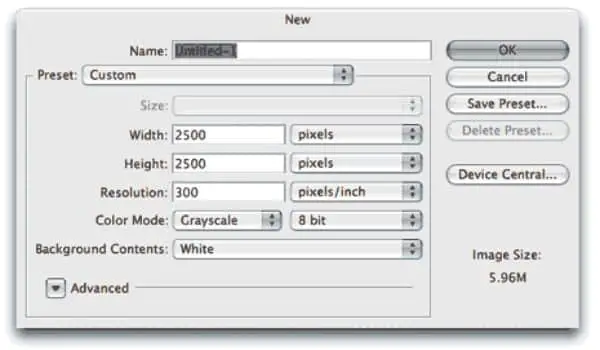
Let us start by making a fresh Photoshop document to create our custom brush tool. We would select 200×200 px document by clicking the “New” button from the File menu. Once you press “New” button, a dialog box pops up where you set the height and width of the document in pixels. As mentioned before, we would select 200 px in height and width fields. You also have to make sure that the background should be set as White in the “Background Contents” field in the same dialog box.
You can create brushes that are as big as 2500×2500 pixels. But if you can create such a big brush, that does not mean you have to. Also, such big brushes are very demanding on your system’s power and may even slow it down. The size that would be used to make the brush would be its default size and it would be pixel based.
Hence, it would be similar to images that you can resize and would behave similarly. The brush would become soft and dull as the size of it increases and the smaller the size, the sharper the brush. Hence, the size 200×200 pixels is practically the right size of the brush that we are going to create.
2. Use the Brush tool from the Tools palette:
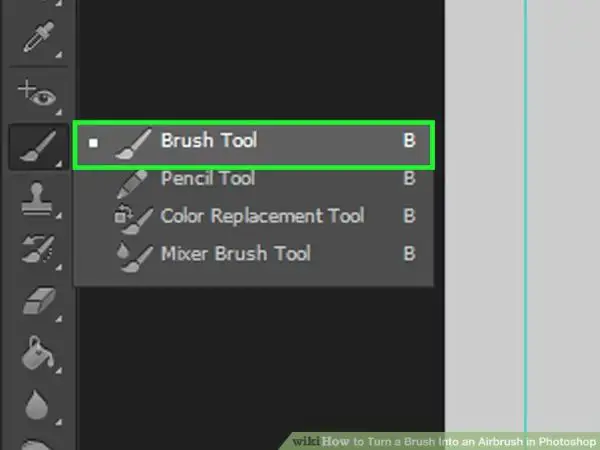
Now, after setting the parameters in step-1, open the Tools palette and select the brush tool. You could also press B to select the brush tool.
3. Make use of a small round brush from the Brush panel:
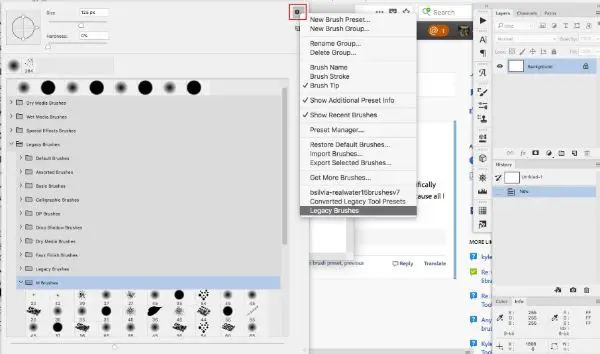
Right click anywhere in the window of the document, with the Brush tool selected, to open the Brush Preset Picker. A Brush Preset picker, as the name suggests, is the smaller version of the entire Brushes panel in the software, which allows us to decide on a brush from an extensive list of preset brushes.
Select a brush by clicking on one of the thumbnails of the many preset Brush tools. Enable tool tips in your system, to see the label of every brush tool in the Brush Preset picker, as you move your mouse cursor over them. Press Enter once you have chosen your preference.
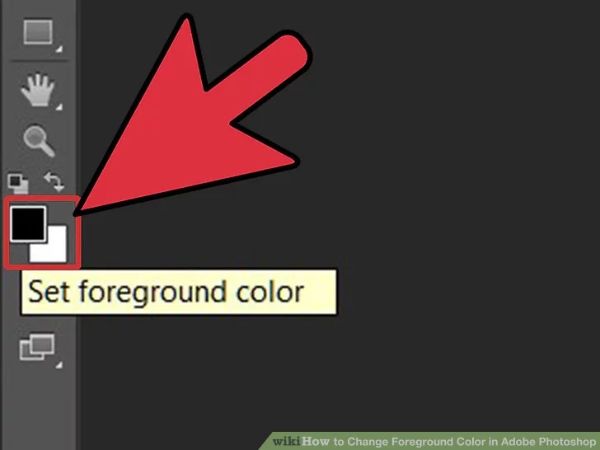
4. Set the foreground color:
When we created the new Photoshop document during Step 1, we ensured the document had a white background. The reason behind selecting white background for a document is that each brush in Photoshop is in Grayscale. Grayscale means, the brush can be either white, black or can have a gray shade in between black and white. Hence, with white background in our document, white areas would become transparent. Hence, you won’t be able to see those areas while painting. And black filled areas would be perfectly visible if the brush has gray shades. Because, those areas would be partially visible considering how close it is to white or black. Moreover, the darker shades would be more seen than the lighter shades.
Now, if we have to use this document to make our customized brush, the brush would contain only white shade because our document is white. But, we would need brush that is visible to us when we use hence we have to add some areas of black to the document. These black areas would create the visible shape of the brush, also known as Brush Tip.
Photoshop paints with black color set to default, hence chances are, your brush is set for painting in the blacks. You can find the present foreground and background color. The top is the Foreground color. To set different foreground color, you can press D as a shortcut to reset the Background and Foreground colors to default.
5. Use Horizontal brush strokes:
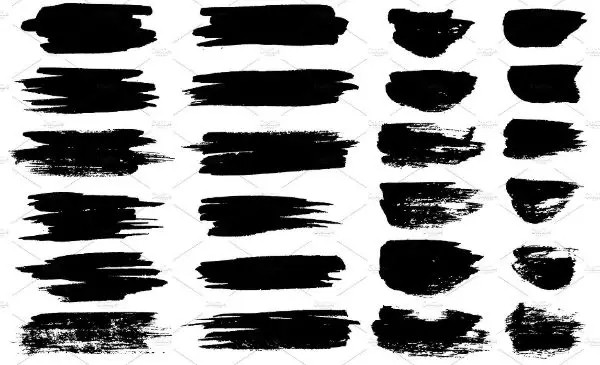
With the selection of small round brush and black foreground, paint a couple of horizontal strokes inside the document window. For various types of strokes, you can change the brush by using shortcuts. For instance, to increase the area of the brush, you can press the Right Box Bracket Key and press Left Box Bracket Key to decrease the brush size. With the strokes of the brush, the document would look like the image.
6. Again create a new brush:
Go to Edit menu at the top left of the screen and select Define Brush Preset from the list to create a new Photoshop Brush from the document. A dialog box would pop up to enable you to define the name of the new brush. Choose a little descriptive brush name to let you understand the purpose behind, why you created the brush in the first place. Click OK to close the dialog box. You have successfully made a new brush in the Photoshop now. It is safe now, to exit the Brush document.
Now, to select your customized brush tool, make sure Brush tool is selected and then open the Brush Preset Picker tool. Scroll down until you find the thumbnail of the brush that you created. Select the thumbnail of your brush and unleash your creativity. After selecting the new brush, simply draw the strokes and paint with your customized brush on the new document. We can modify how the brush acts when we look at the Brush Dynamics in the following steps.
7. Brush panels:

To control more as to how your custom brush acts, we require Photoshop’s primary Brushes Panel. It lets us take a look at some amazing options. When the Brushes Panel is opened, the Brush Presets option is selected by default. It shows the same small brush icons that we saw in the Brush Preset Picker panel. Click on the icon of the brush that you want to select.
The thumbnail of the brushes show the preview of how the effects of the brush looks like, which enables us to understand the type of the brush we need. When you move the mouse over the thumbnails, it would show the name of the brush if you have enabled the tool tip in the software.
8. Handle the Brush Tip Spacing:
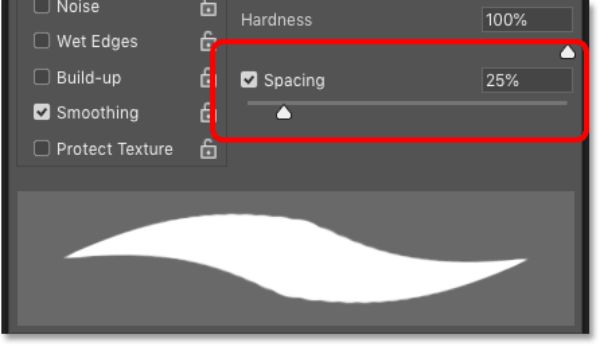
Press the Brush Tip Shape underneath the Brush Presets option. Photoshop is known to stamp the document using the brush tip when you move your mouse around the document. It looks like an effortless brush stroke if the strokes of the brush are close by. But the strokes would look broken if there is distance between the stamps. Varying on the type of the graphic you are aiming for, you have to decide the type of brush stroke.
To monitor the spacing different stamps have, it has an option which is aptly named as ‘Spacing’. Spacing is modulated by the spread of the brush tip and is defined by percentages. By default, the spacing is 25 percent. If the spread of the brush tip is 100 px, Photoshop would allot the spacing between the two stamps at 25 px, when you run your mouse around the document.
To have smoother brush strokes, you would require less spacing. With the decrease in the percentage of the spacing, the brush stroke is bound to become more refined.
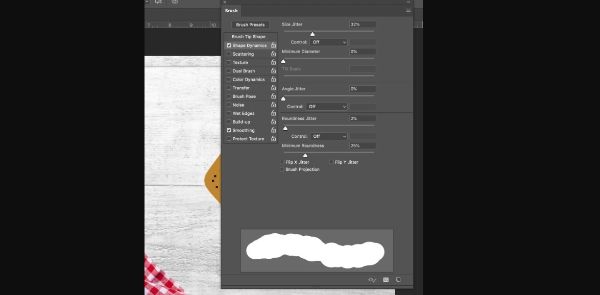
9. Adjusting the Brush Shape Dynamics:

Shape Dynamics are the parameters that decide the size, angle and roundness of the tip of the brush as we stroke the brush on the document. Click on Shape Dynamics situated below Brush Tip Shape. This would allow you to change the settings of the brush parameters. Clicking on the checkbox would turn the option on but you won’t be able to change the settings of the brush.
10. Changing the Brush Tip Direction:

The issue with the brush that we created is that, irrespective of the direction we paint, it would only create strokes with horizontal brush tip. In order to make the brush tip more agile and dynamic, change the control option for the brush tip to Angle to Direction within the Shape Dynamics window. After this, the brush would follow the direction in which I would want to paint in.
11. Adjusting the Pen Pressure if you use a Tablet:
We looked at all the steps above with reference to the graphic designers that use laptops or desktop computer systems. But this particular step is written here for the graphic designers who prefer to use pressure-sensitive Tablet systems where they design the graphics using the Stylus.
Keep the Shape Dynamics option selected and tweak the Control option to Pen Pressure to adjust the size of the tip of the brush. With these factors selected, the stroke of my brush would look more natural. The brush would behave according to the pressure I apply on my Stylus and on my tablet while drawing and creating graphics. In addition to this, instead of my graphics looking out of the place, the strokes with this brush would look sharper, refined and clear to discern.
Conclusion:
This blog is not a complete tutorial as to how to create your own customized brush tool. But, it definitely gives an insight on how to create and use your own brush instead of using the preset brush tools and parameters. The reason you should use your own customized brush tool is, that it allows you to tweak your brush parameters and make adjustments according to your own requirements. And because you can save your custom brush, you can use the same brush with the similar or slightly tweaked brush parameters in future.
Photoshop is a very powerful application and creating various types of customized brushes is unlimited. The possibilities are endless as far as your imagination can be stretched. By default, Photoshop comes packed with a variety of brush tools to work with, but the fun doubles up while working with our own custom brush. Adobe revamped the Photoshop 7 version and that has been adding a zing to the graphic designing fields.